Learning Objectives:
• To use the techniques learnt in previous lessons
• To make appropriate changes to improve your work as it develops
• To make appropriate changes to improve your work as it develops
Your task:
Once you are happy with your outlines, be sure to erase any planning lines and use an eraser to lighten your lines if they are quite dark. They should be as pale as possible, while still being clearly visible.
You can then draw and shade the facial features and clothes in the following order (working from the top down to avoid smudging):
1. Eyes
2. Ears (if visible)
3. Nose (this may be easier to shade next lesson when you shade the skin)
4. Mouth
5. Clothes
2. Ears (if visible)
3. Nose (this may be easier to shade next lesson when you shade the skin)
4. Mouth
5. Clothes
Remember to use the measuring techniques learnt last lesson as you frequently review and refine your work as it develops.
What you will need:
Sketching paper (or your sketchbook), a soft pencil (preferably 2B or 4B), eraser, blending stump (or cotton bud) and a pencil sharpener.
Measuring Techniques Recap:
Follow this video tutorial closely to learn a useful measuring technique for drawing really accurate portraits.
Tips:
Outlining the facial features:
• Refer back to the previous lessons and videos to remind yourself of the skills
• Measure carefully and if in doubt, measure again... and again.
• Trust the measurements - don't change your proportions when you don't believe them!
• Draw your guidelines as lightly as possible to make it easier to erase them later on
• If the person's head is at an angle, so will be the facial features.
• Check the angles of each line/shape carefully.
Shading the facial features:
• Keep your shading lines close together to avoid scribbling.
• Layer up your shading slowly.
• Add as many gradients as you can to make your portrait look 3D.
• Add the details after the gradients.
• Layer up your shading slowly.
• Add as many gradients as you can to make your portrait look 3D.
• Add the details after the gradients.
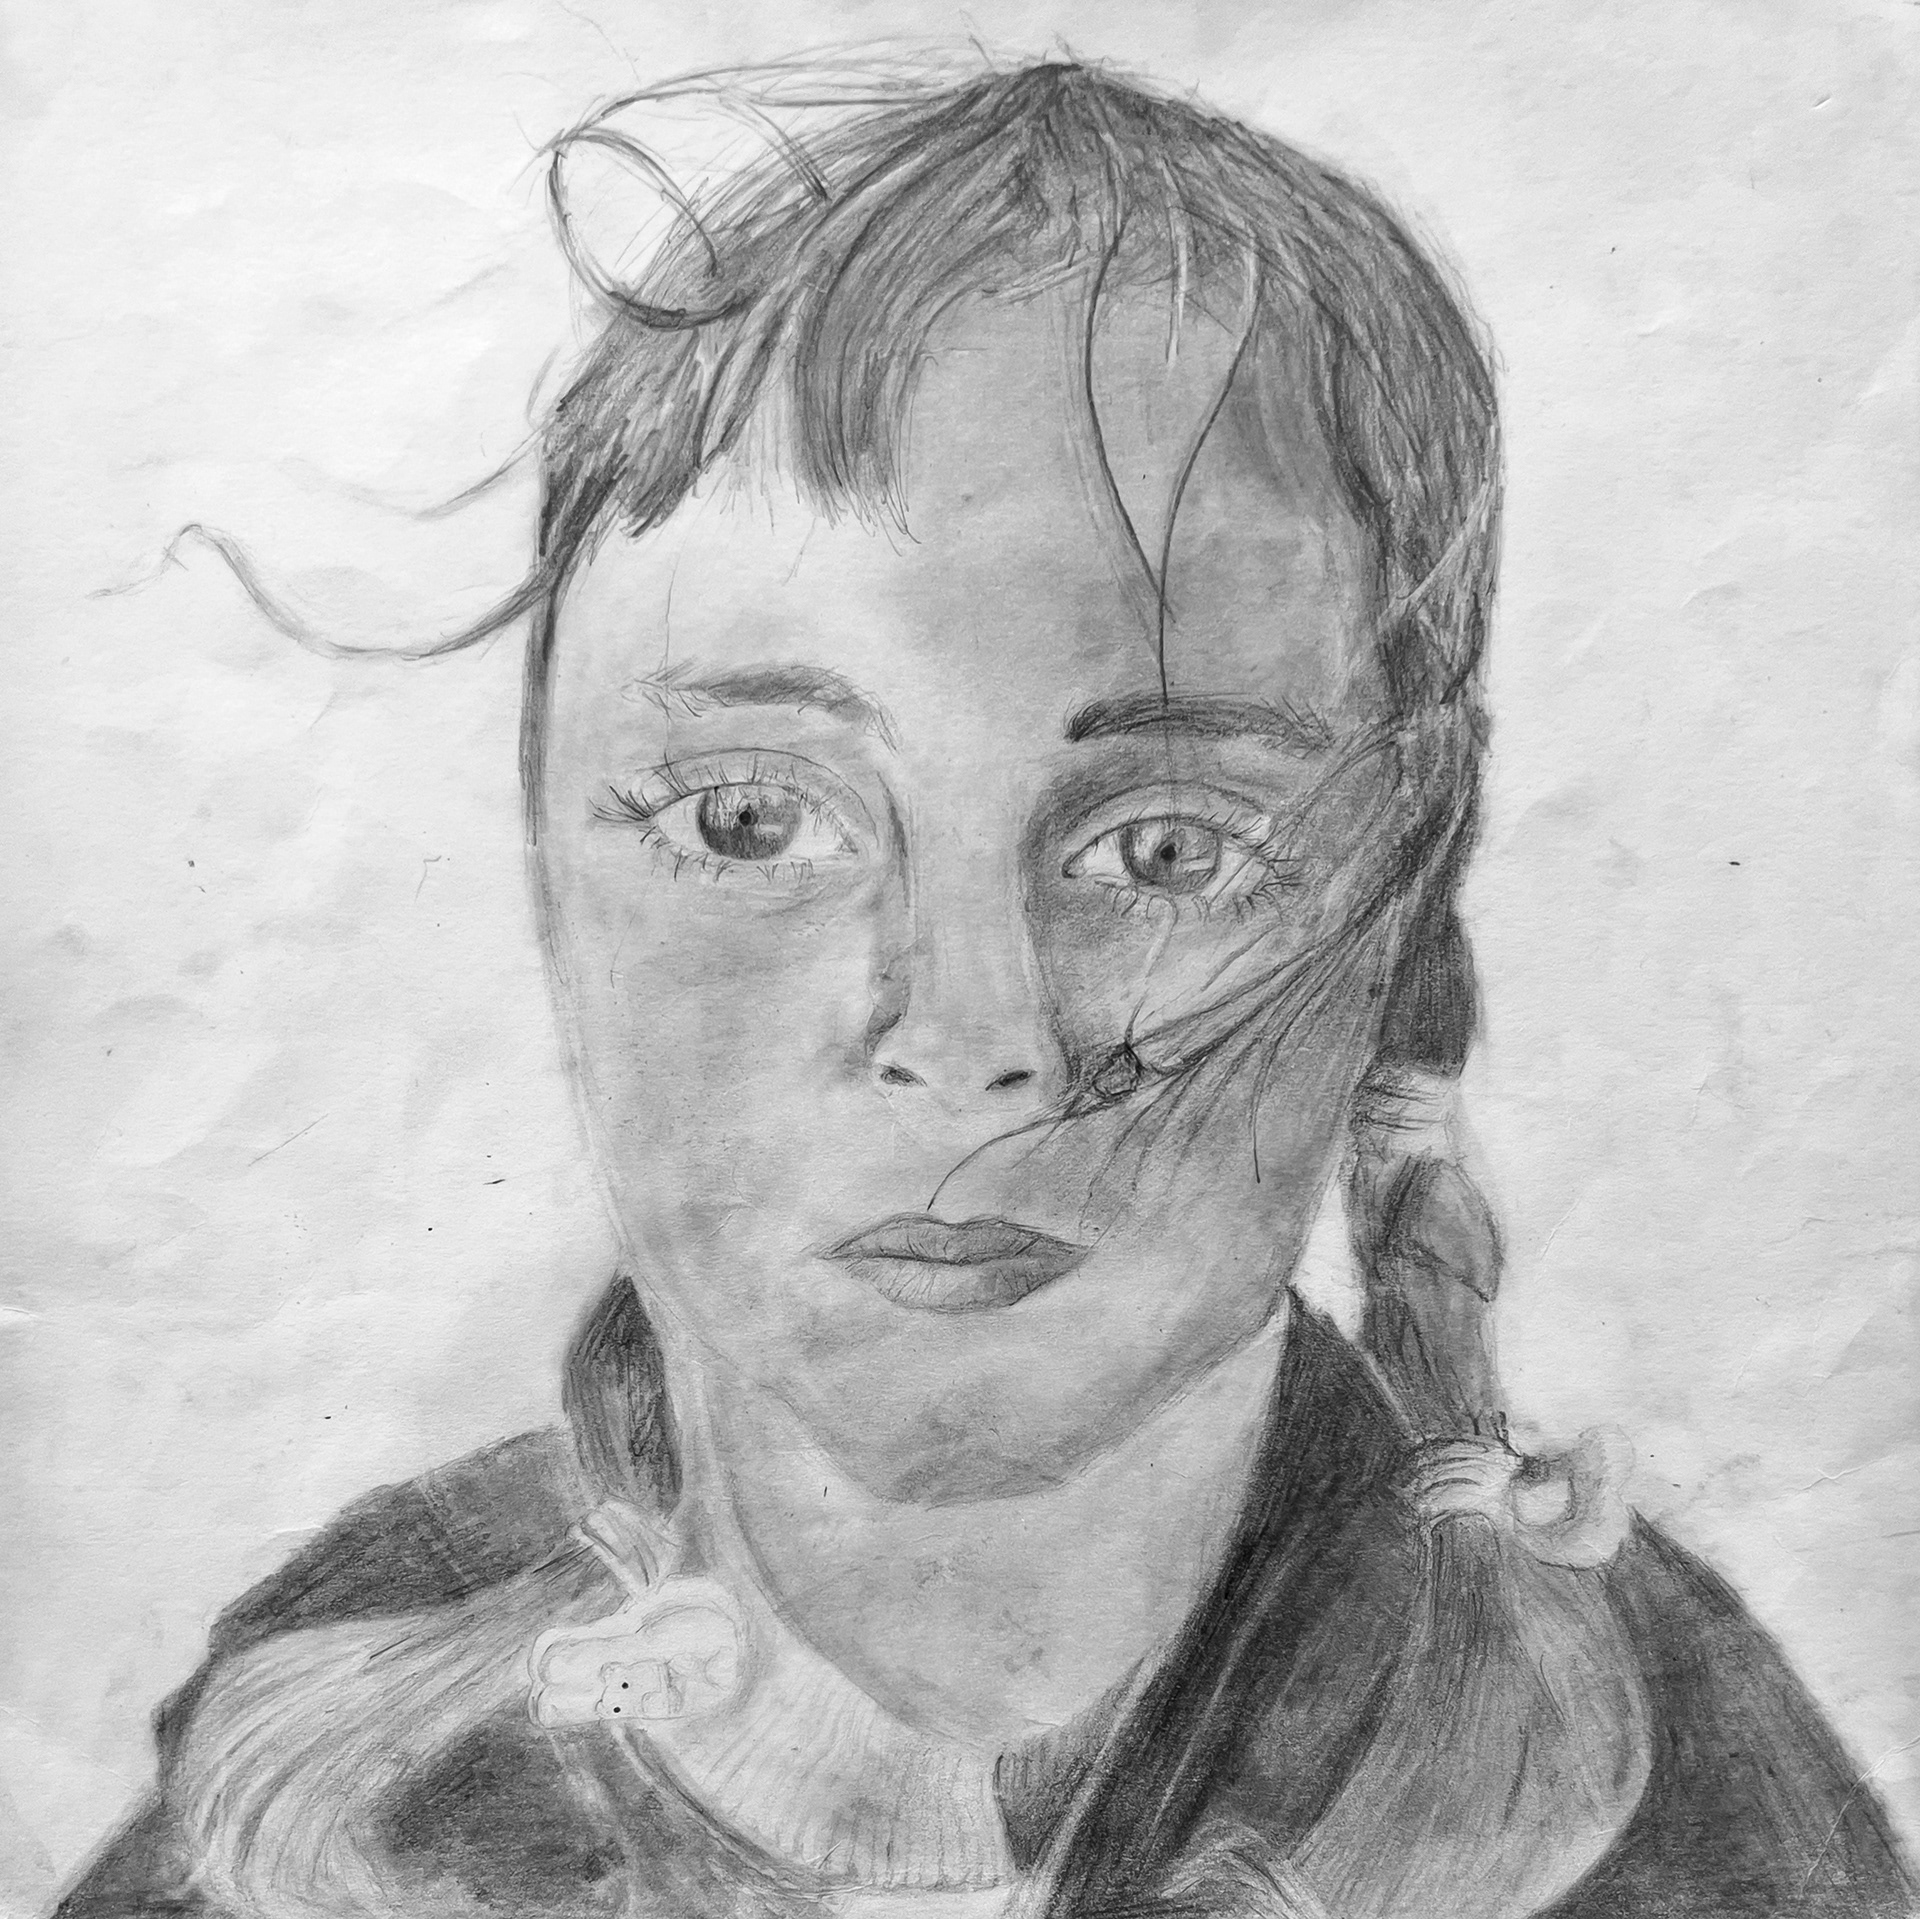
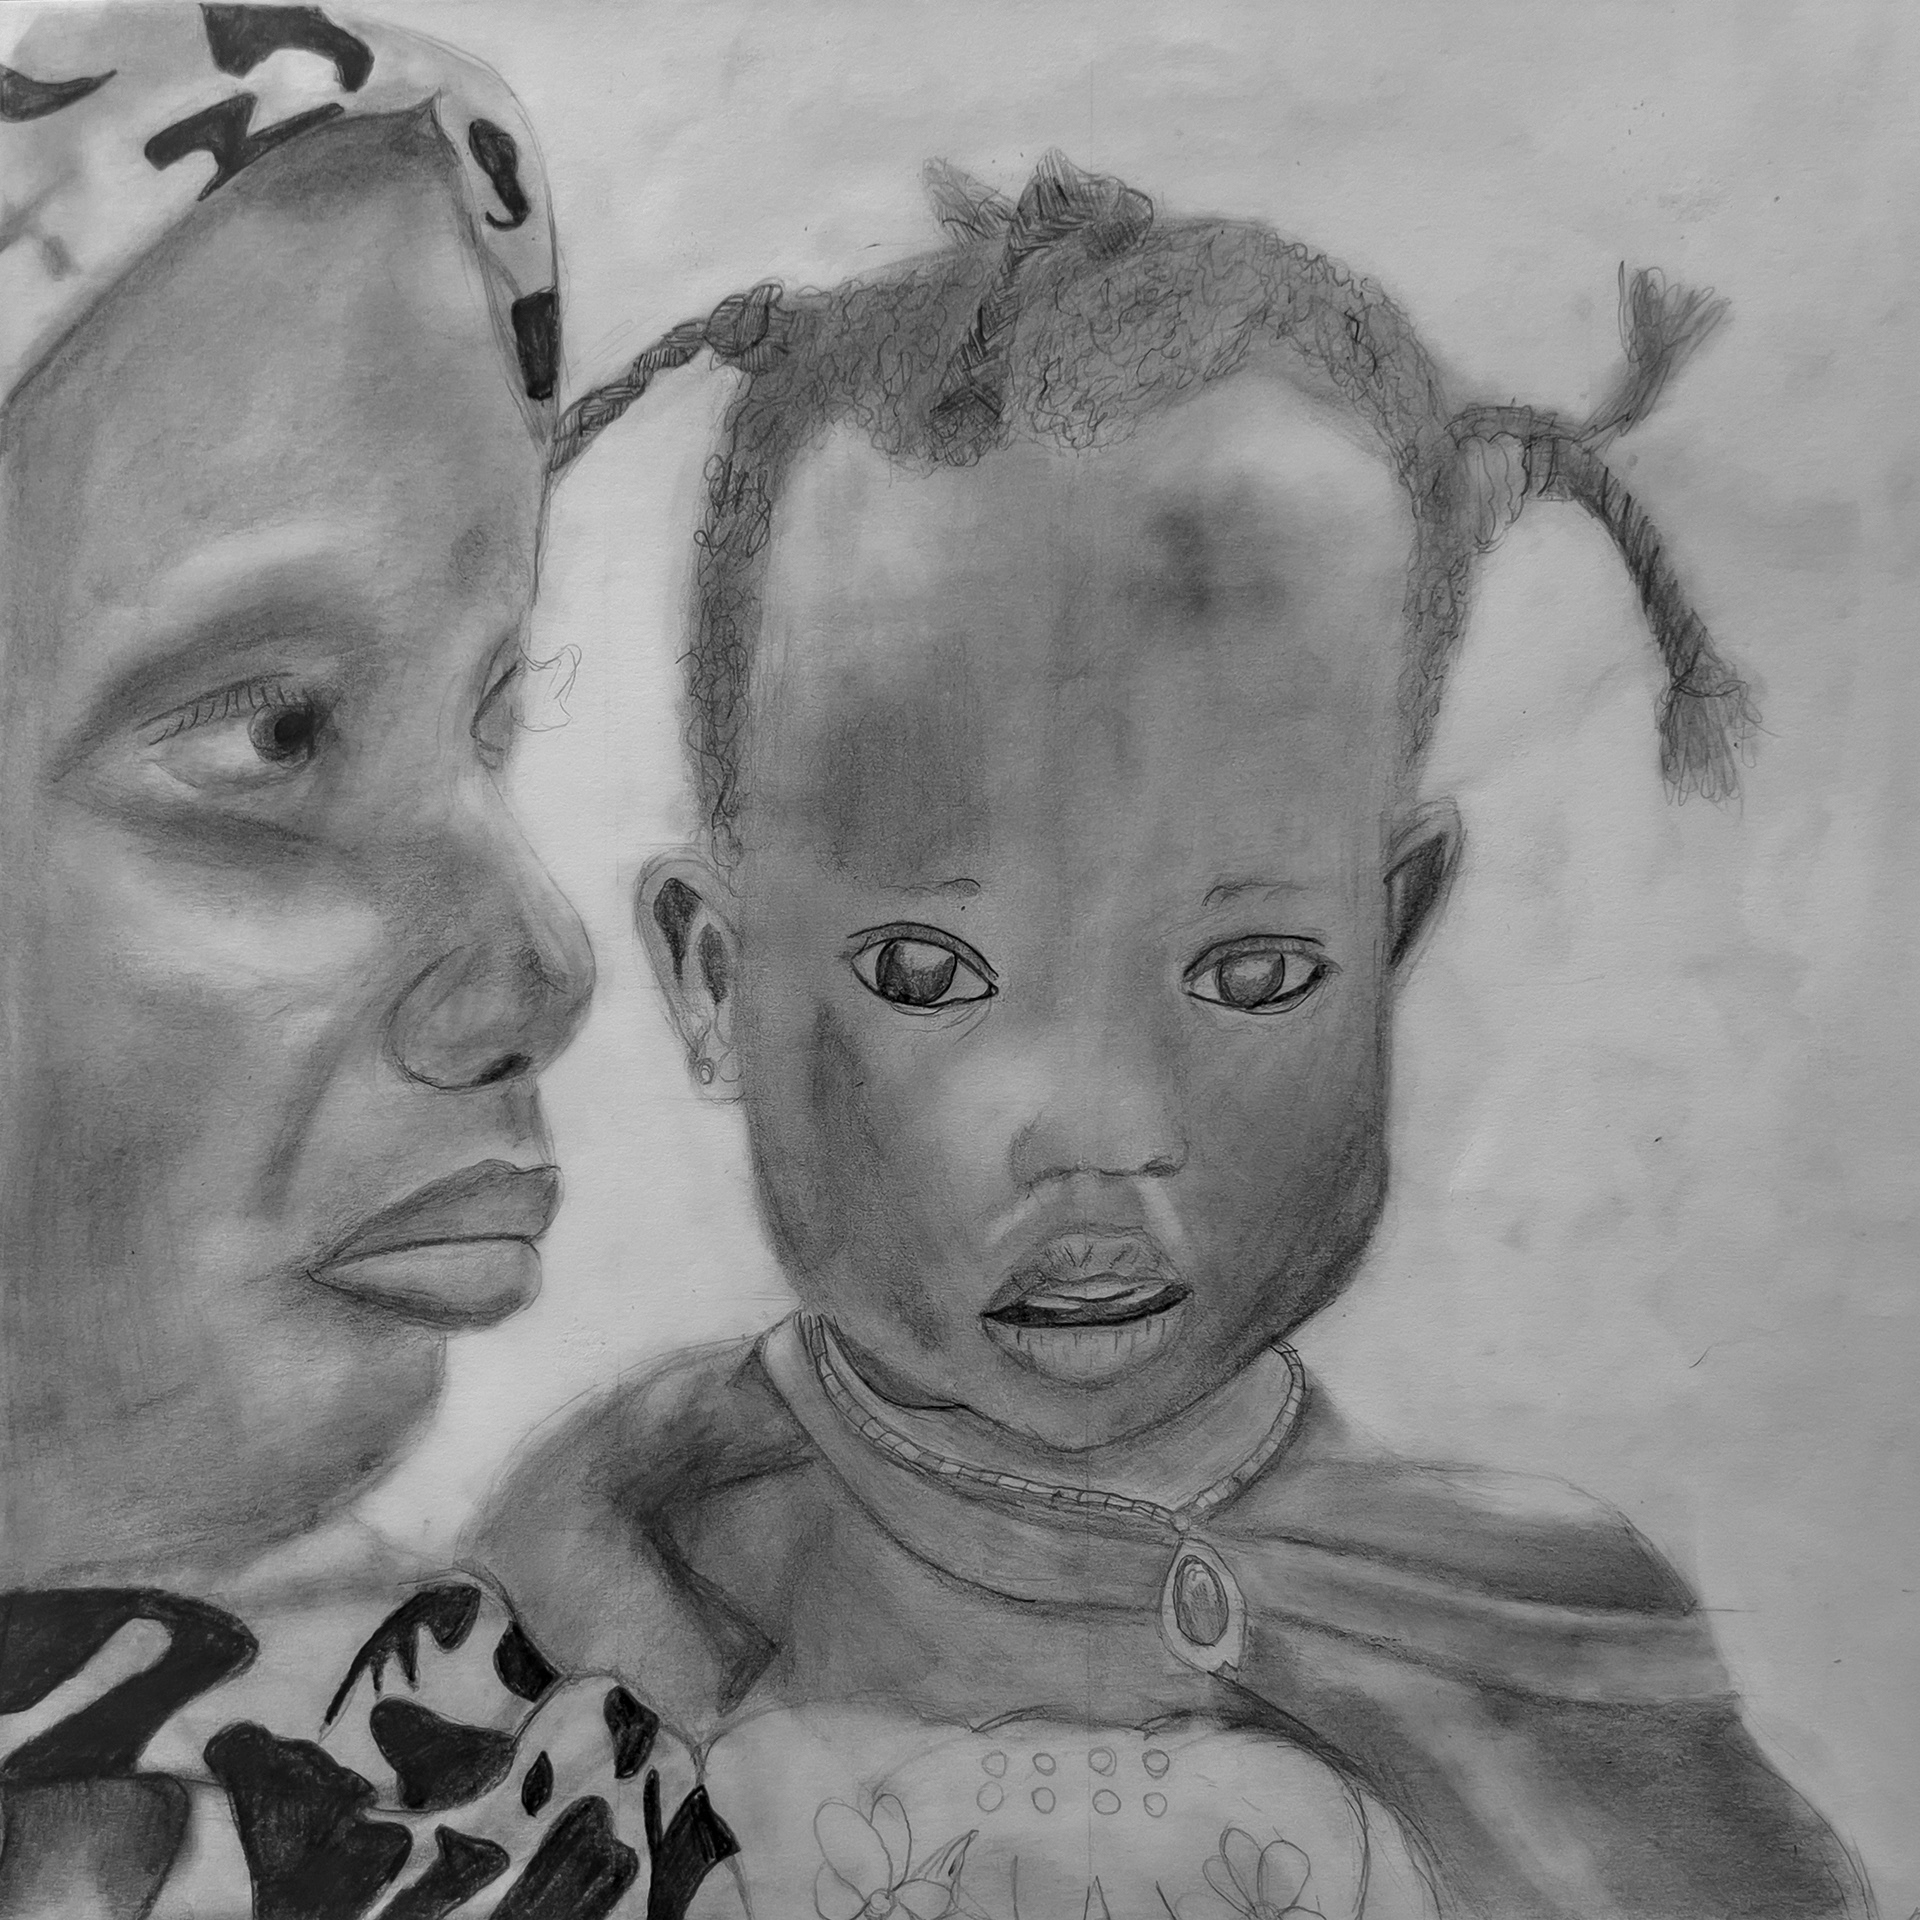
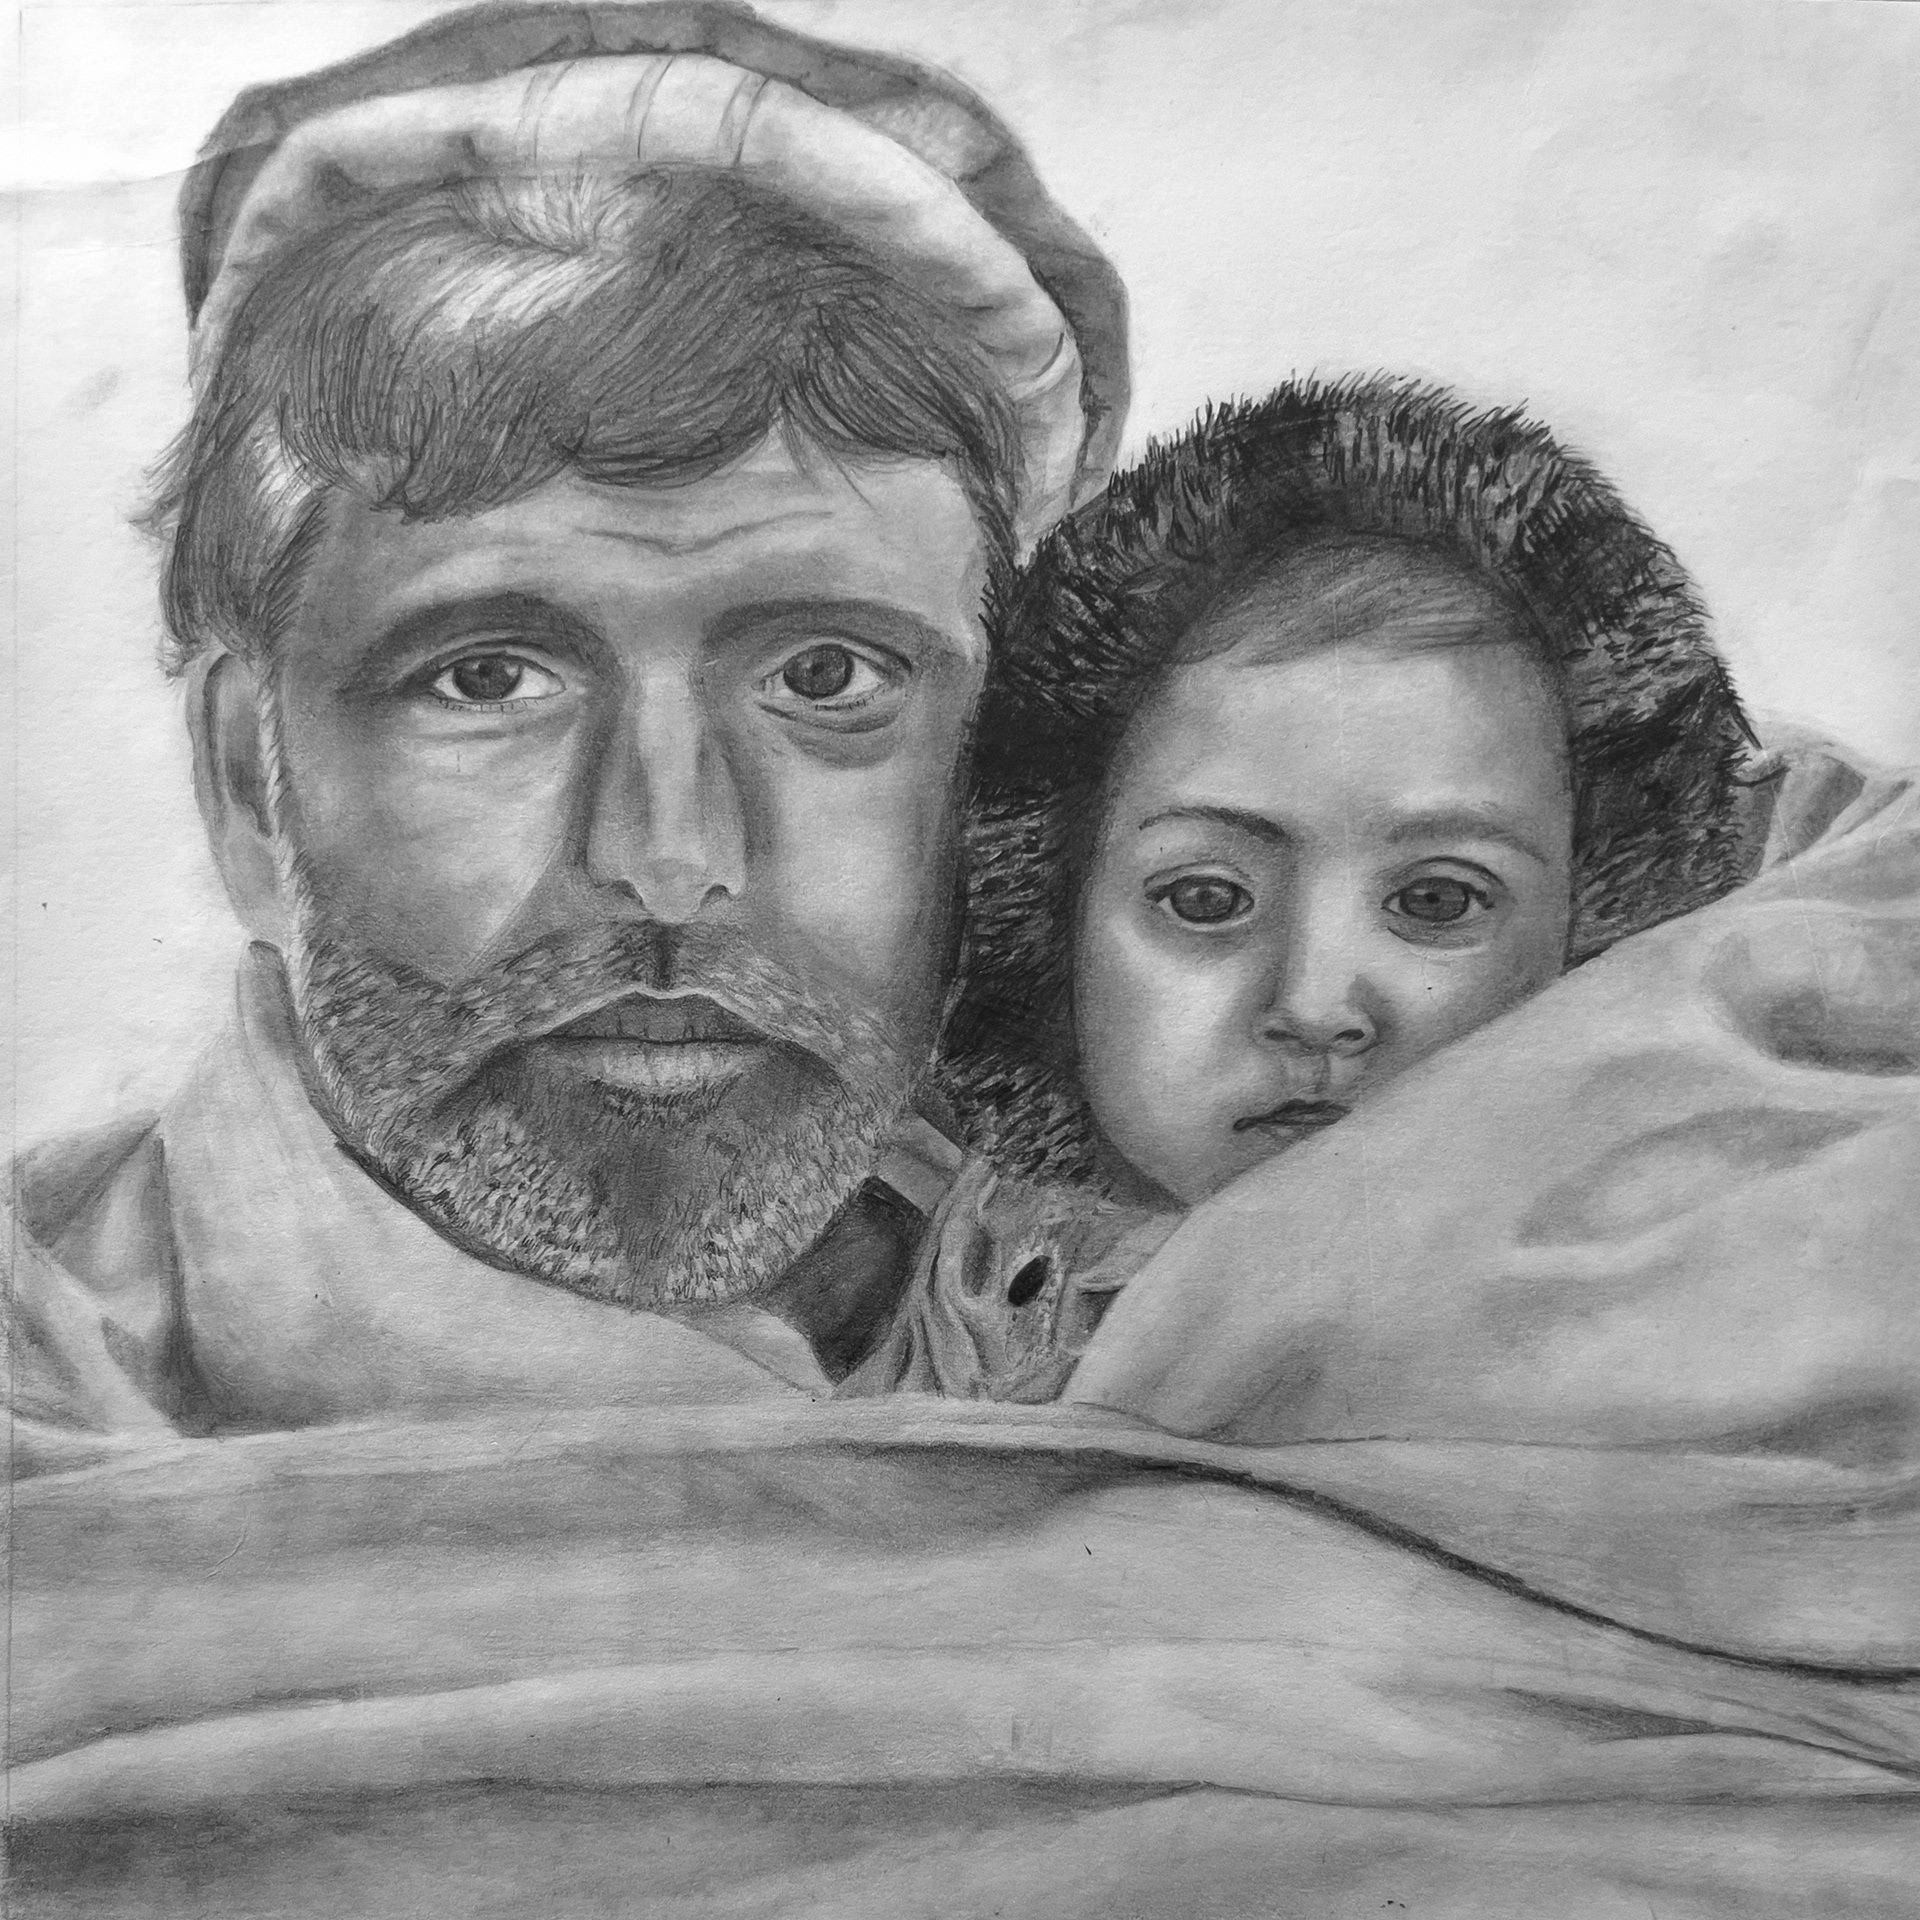
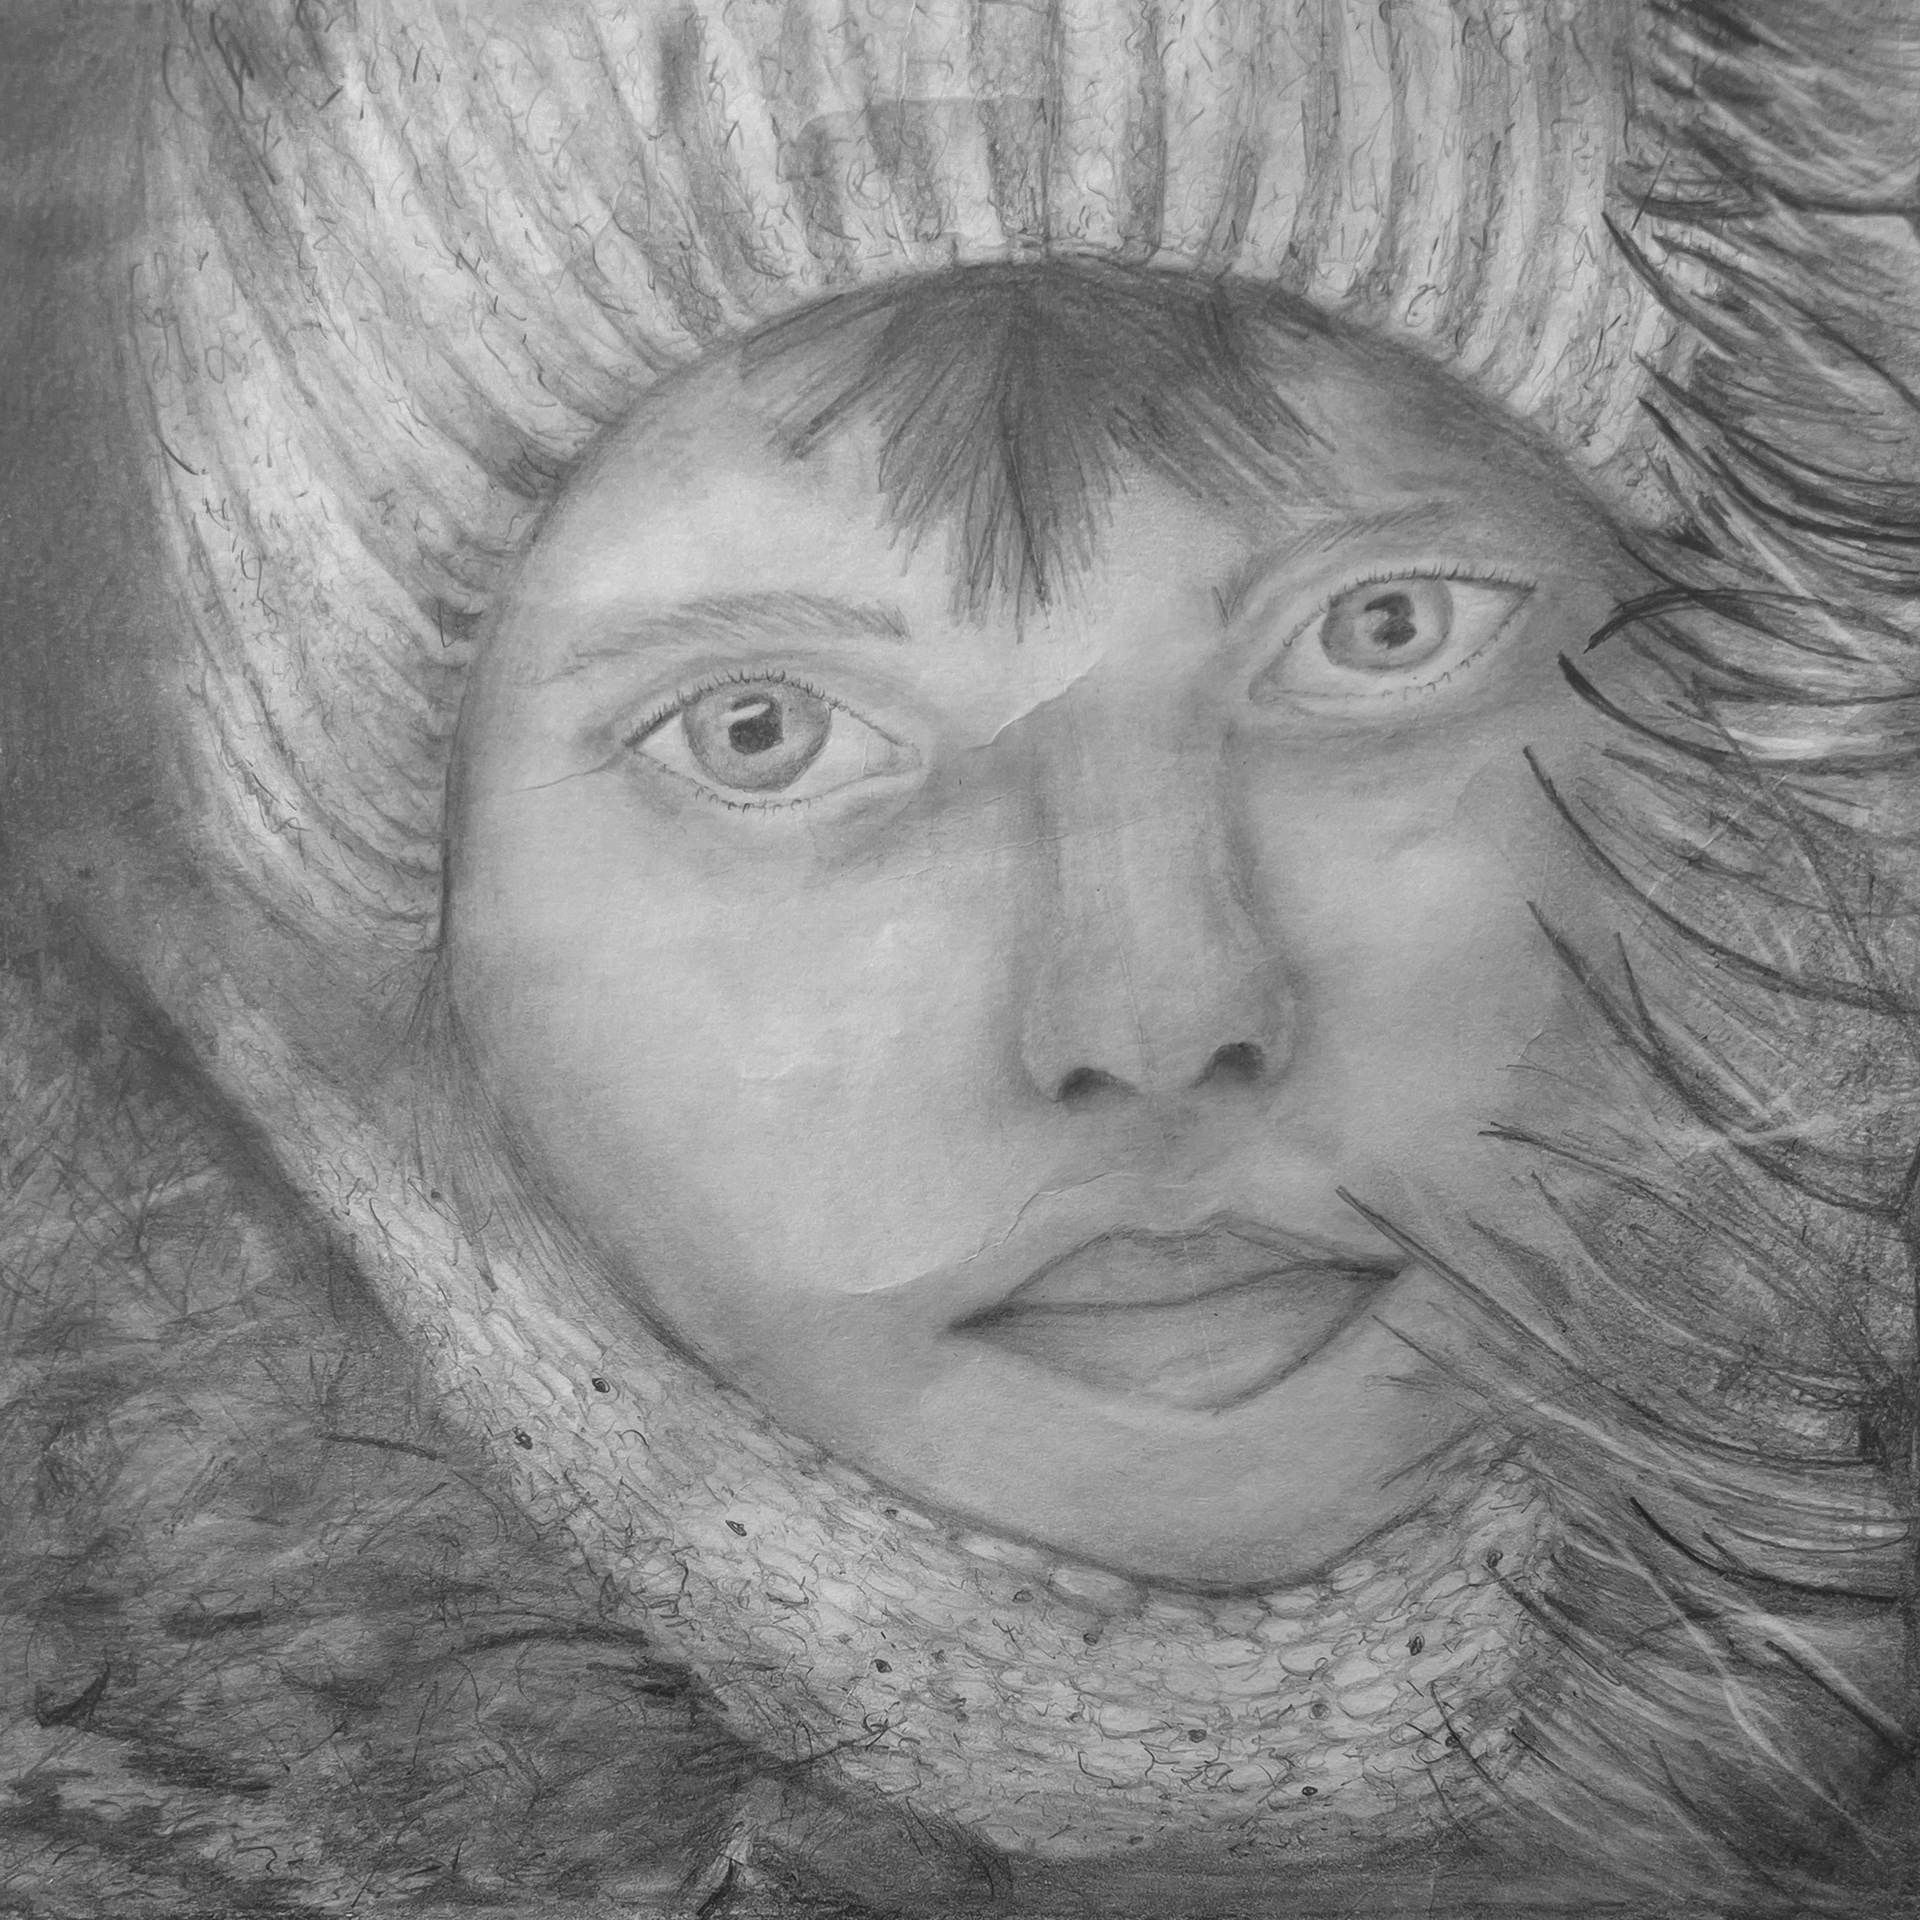
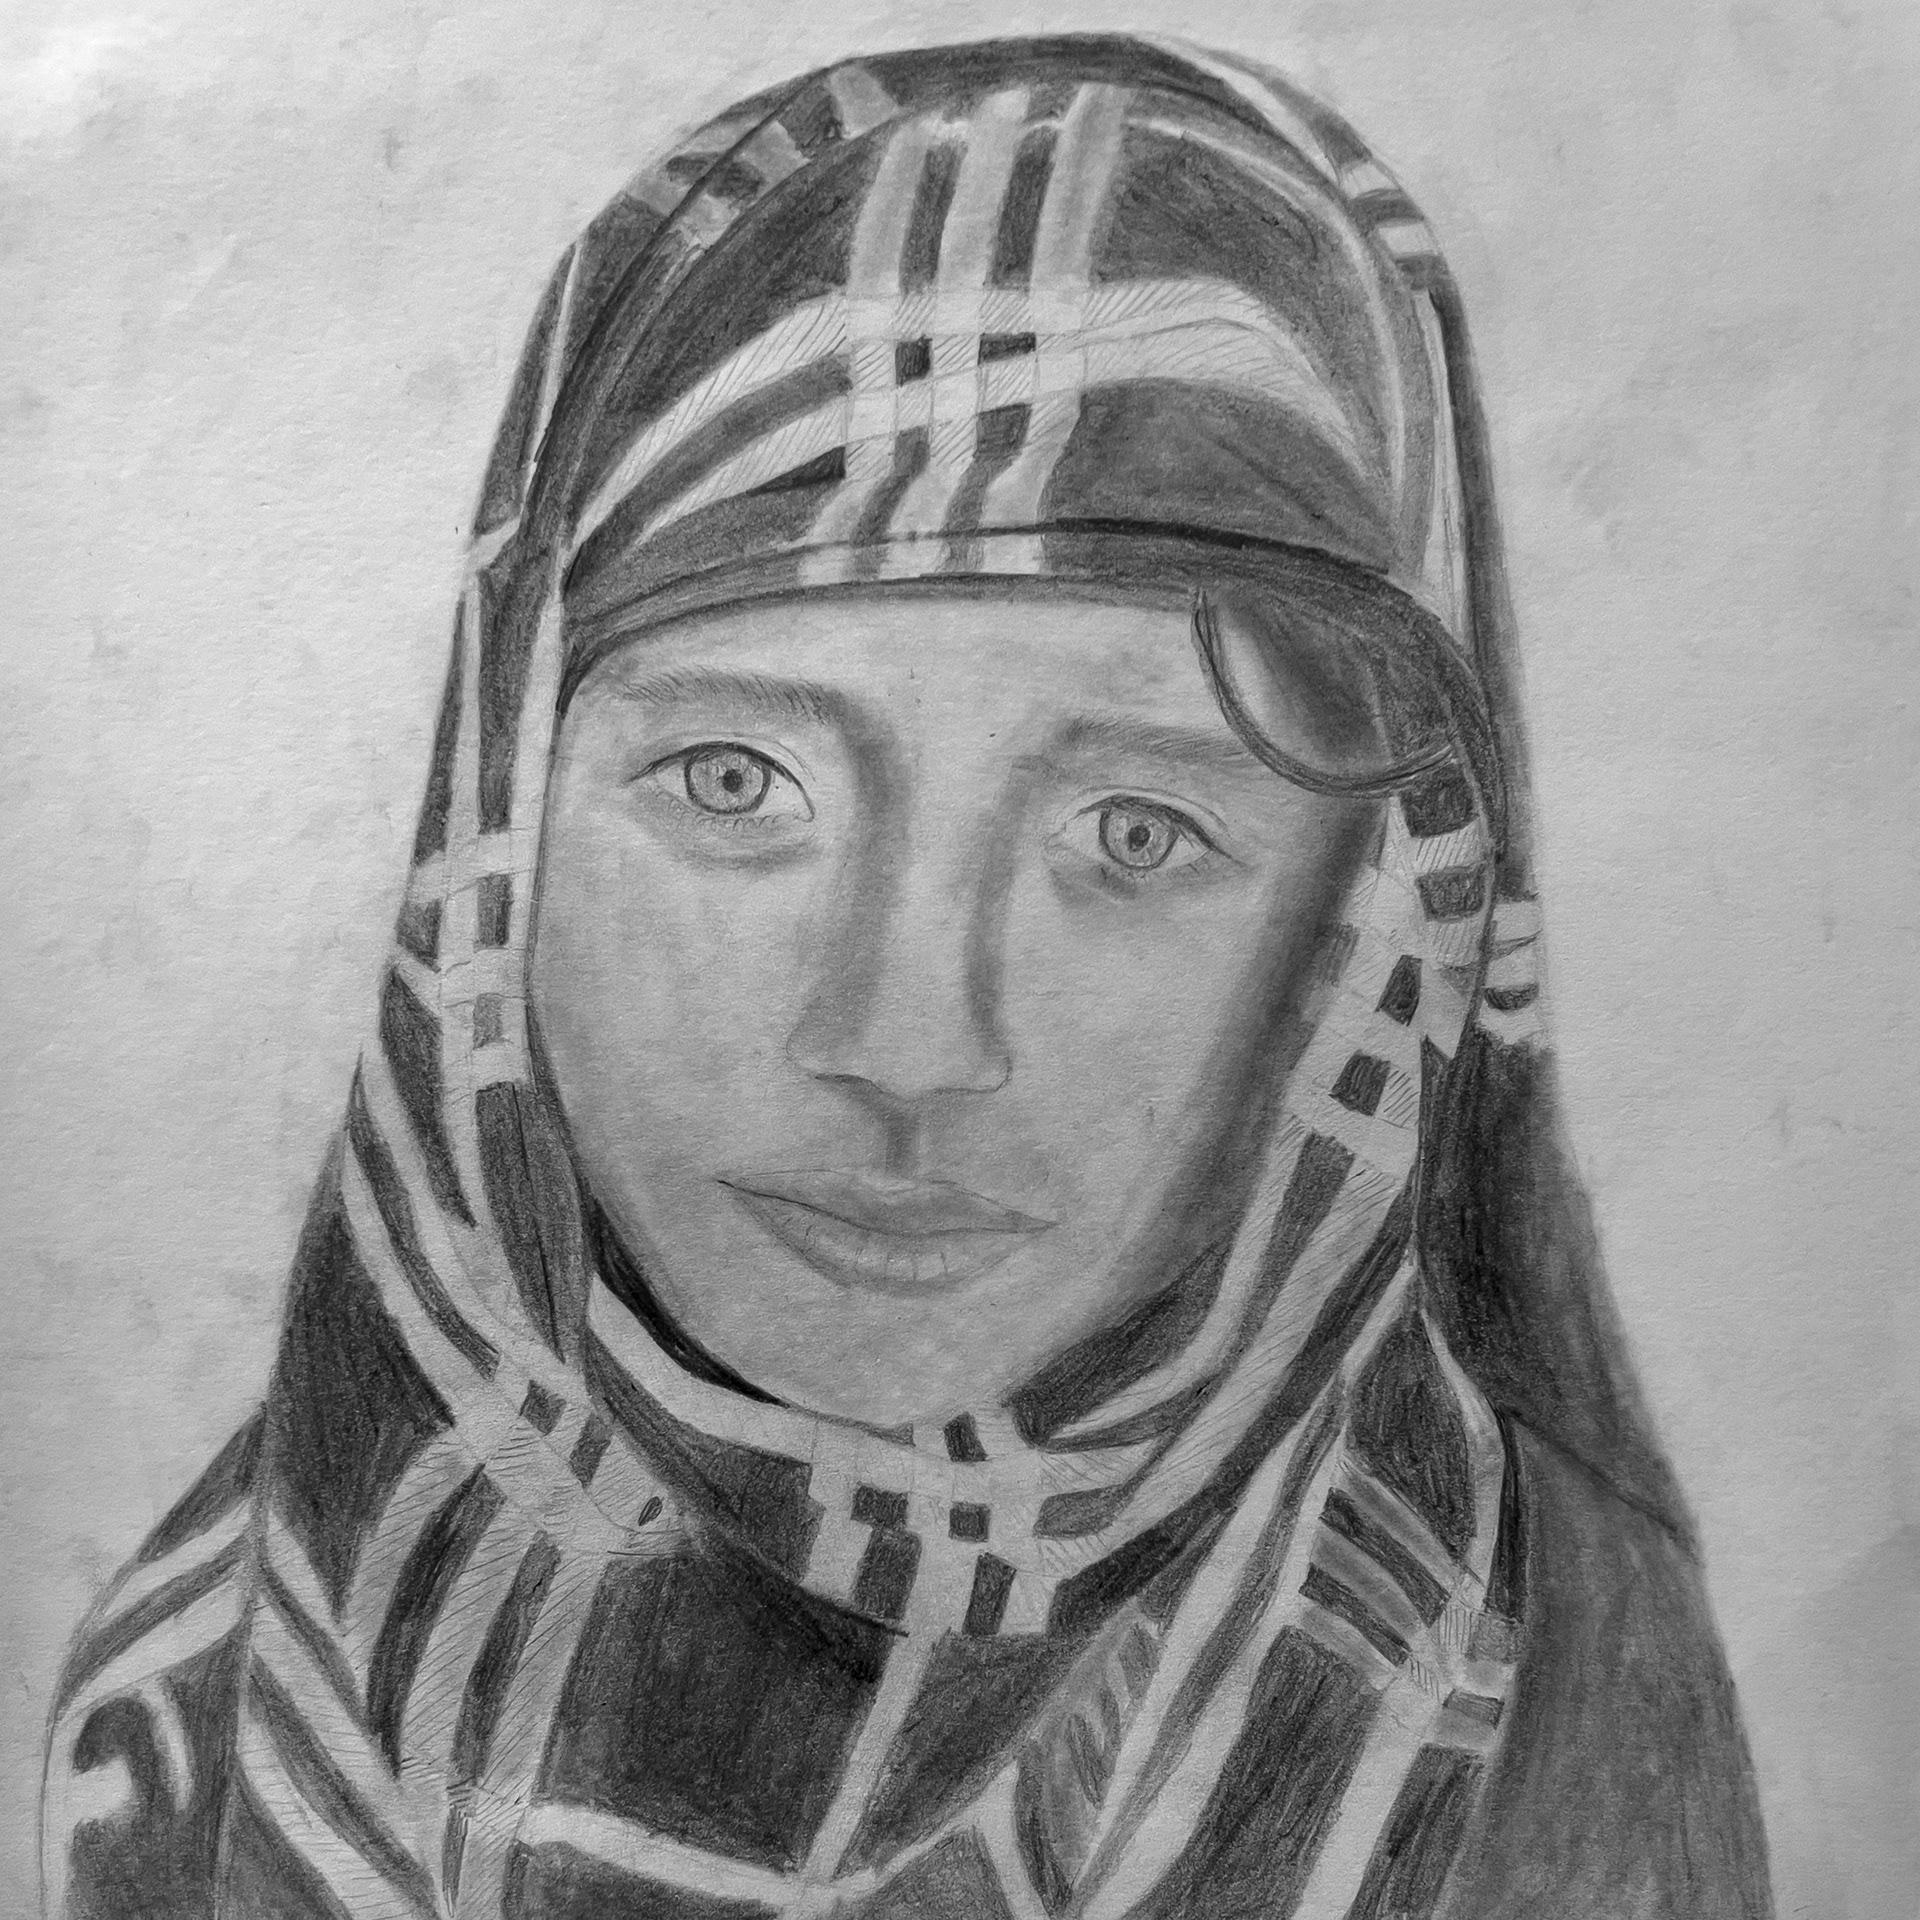
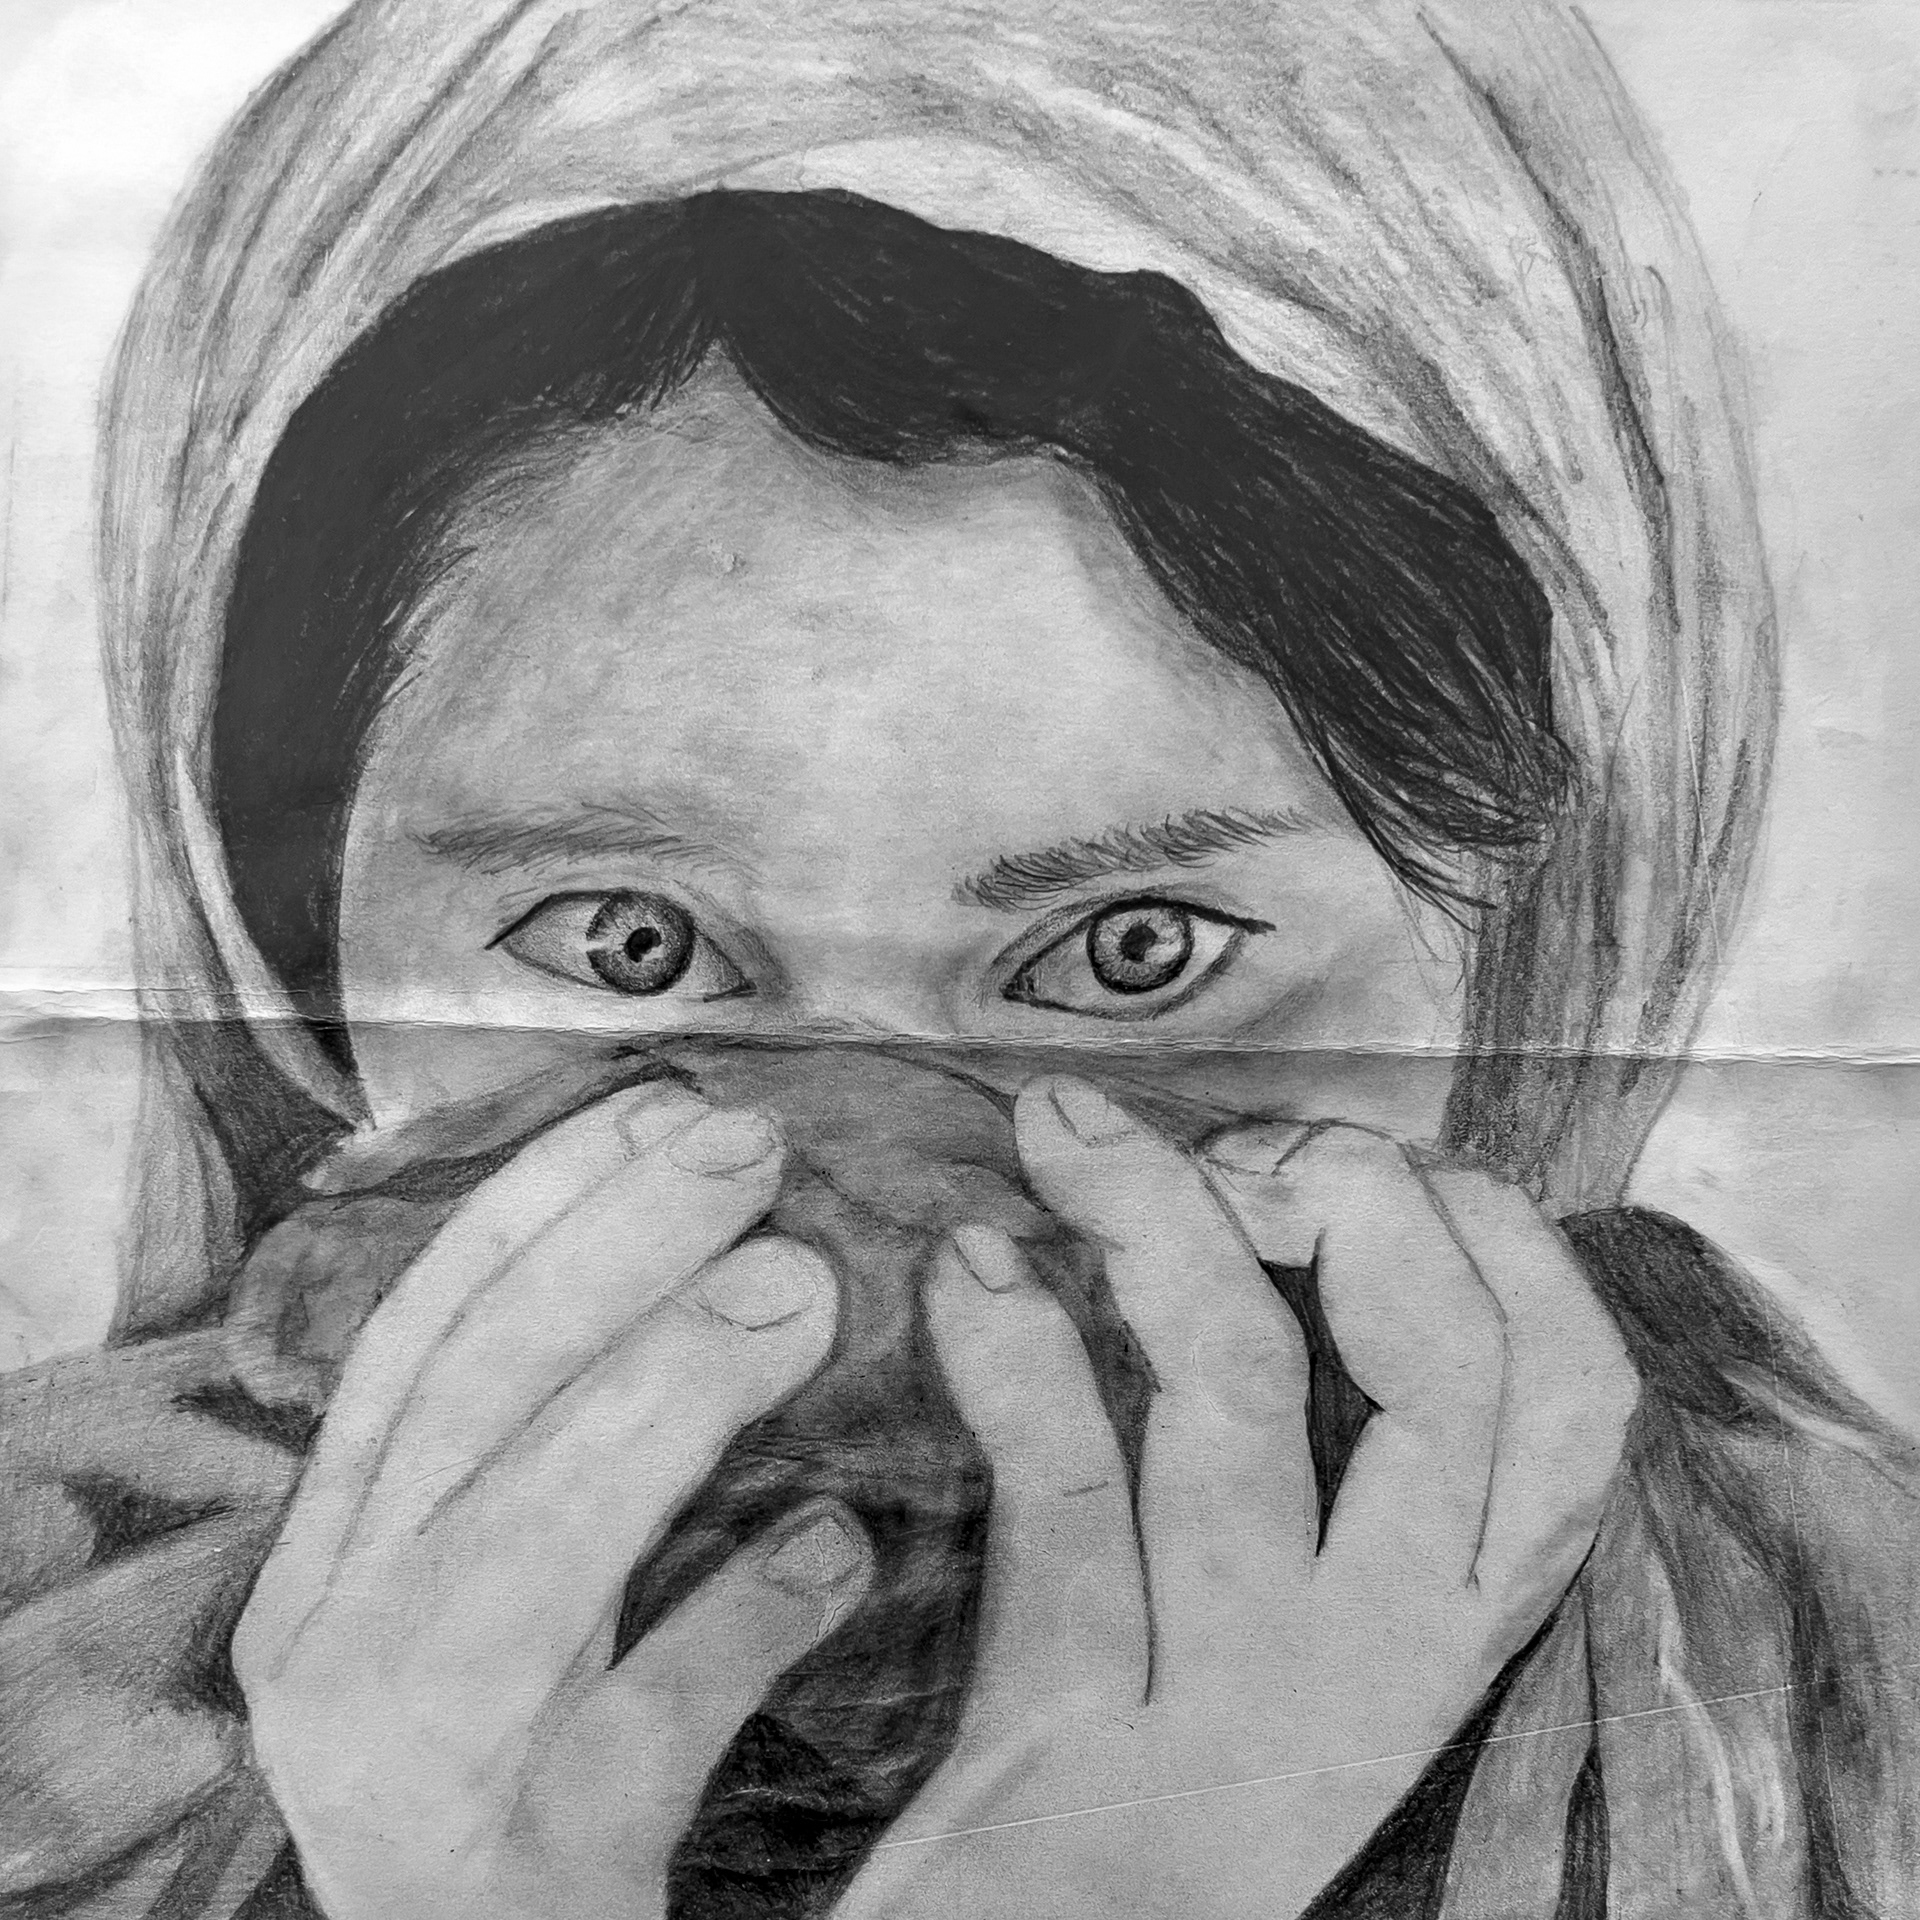
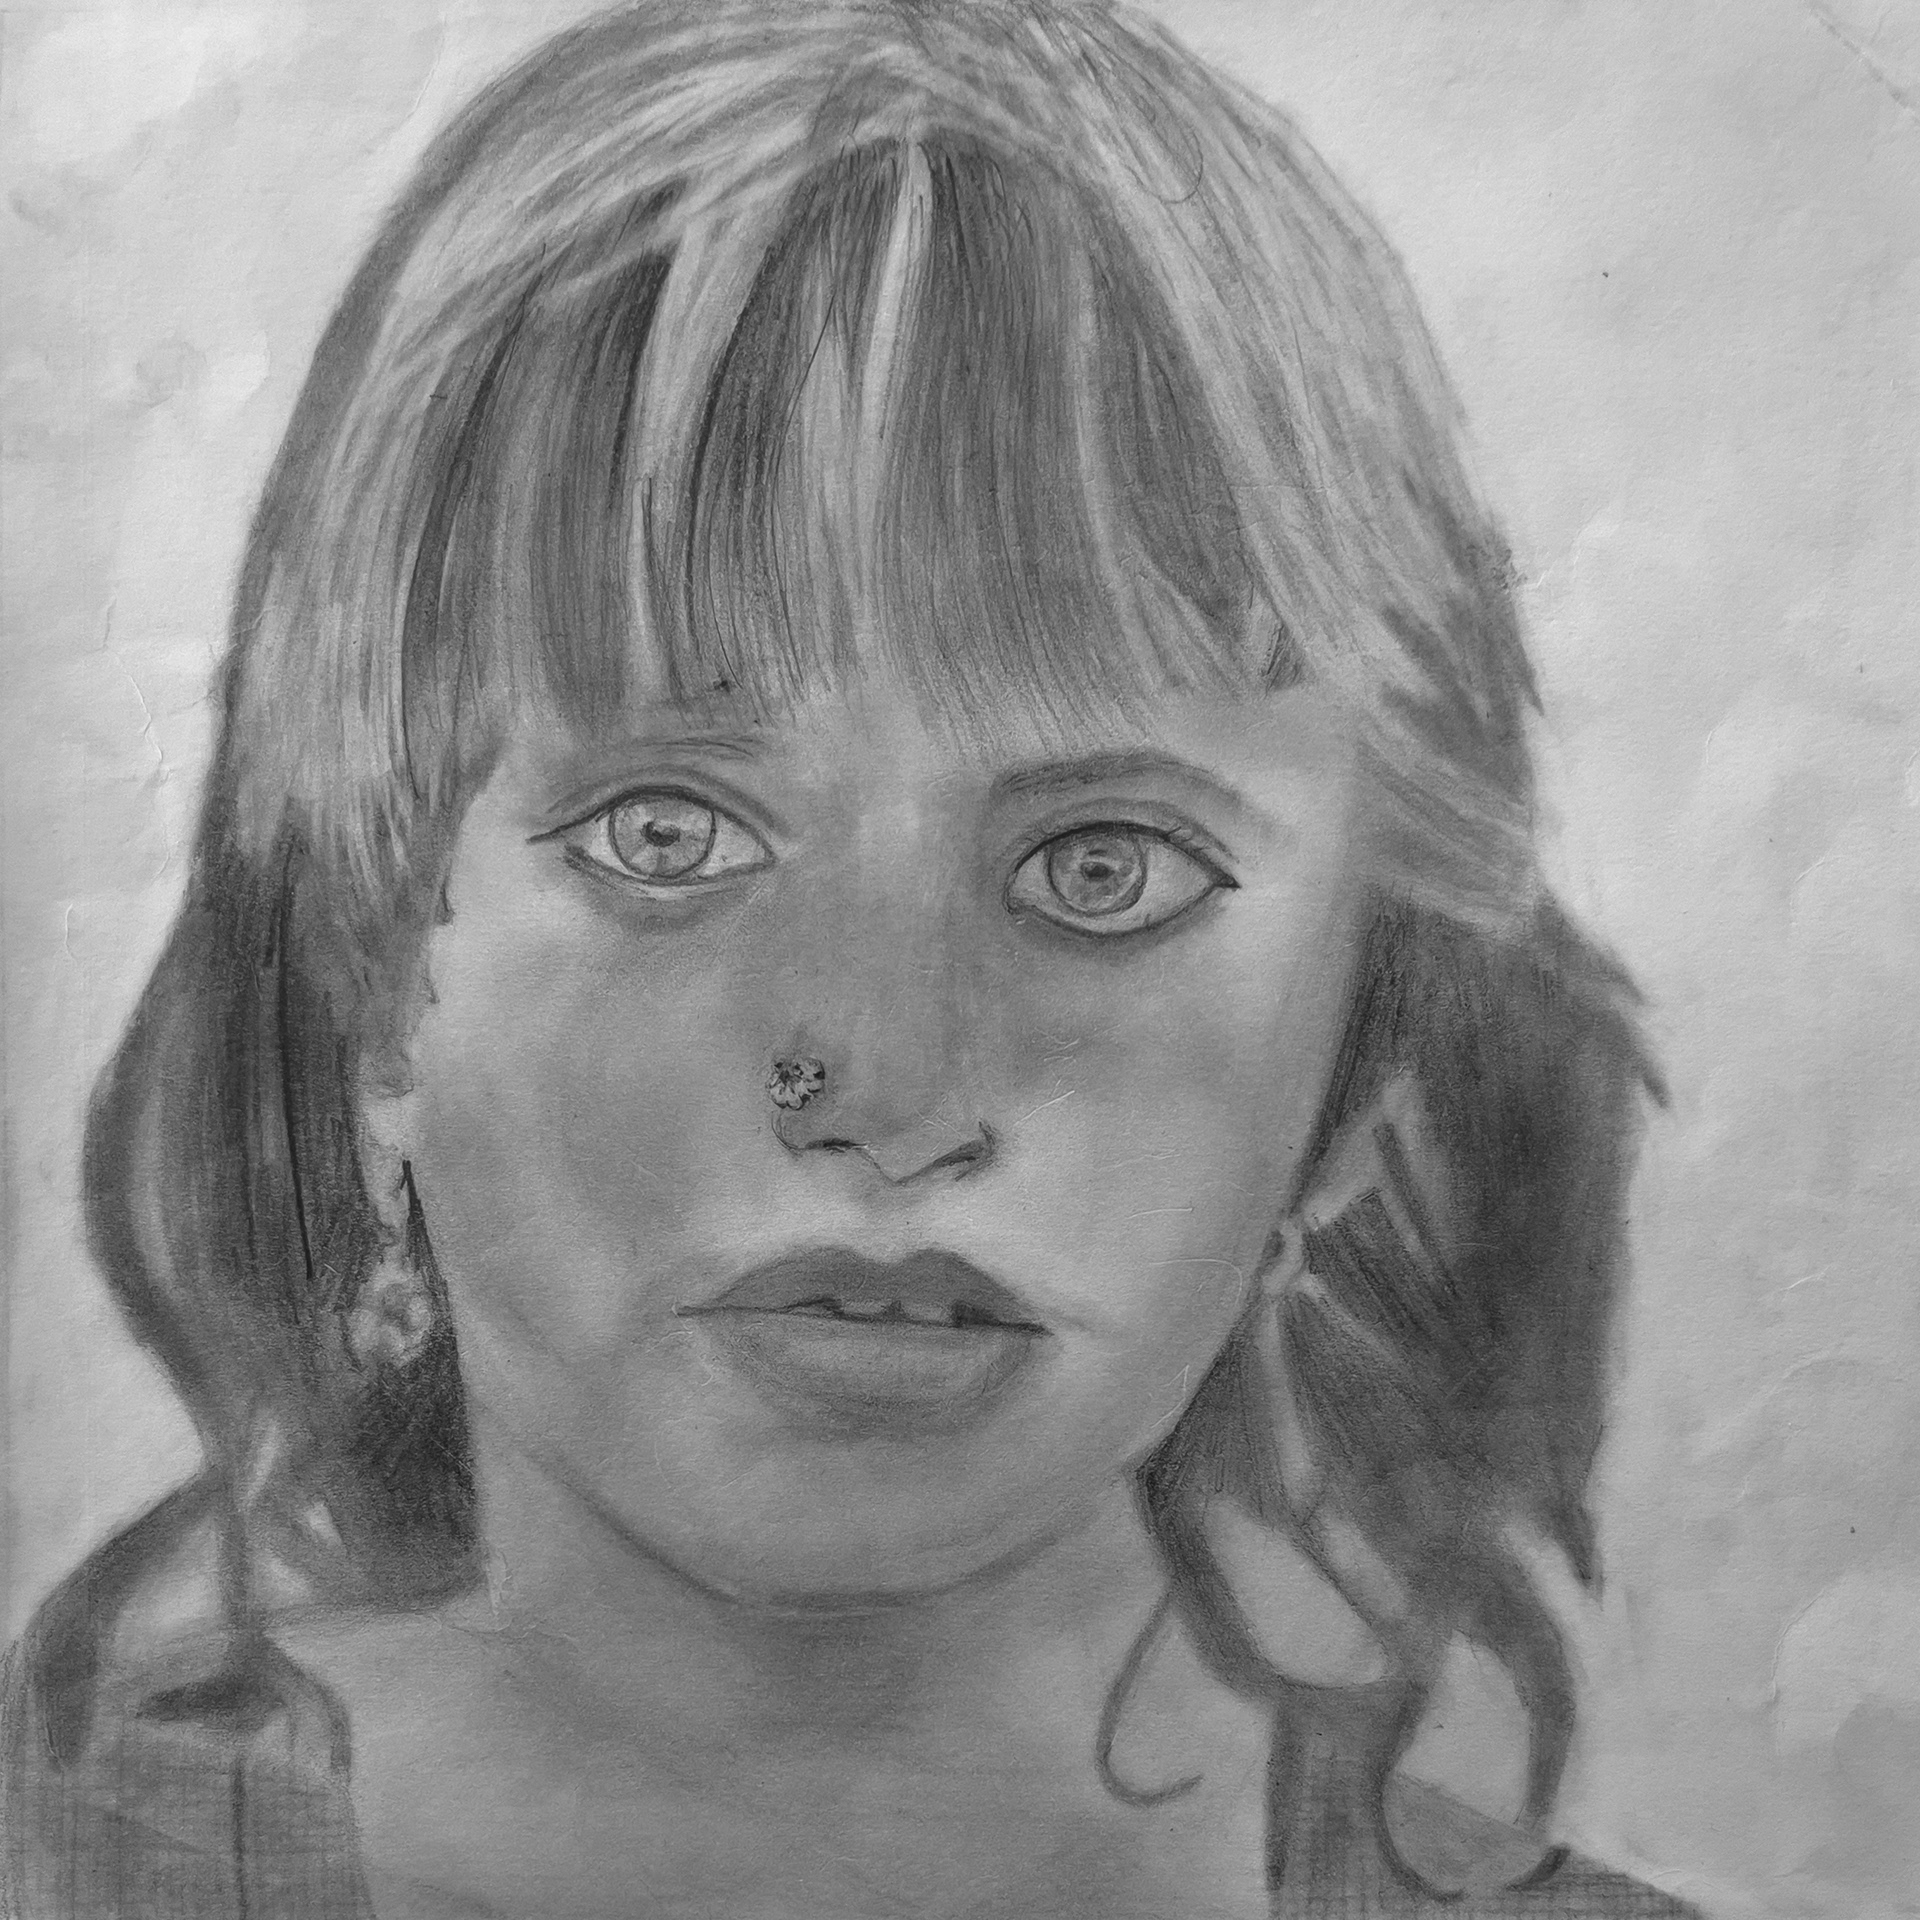
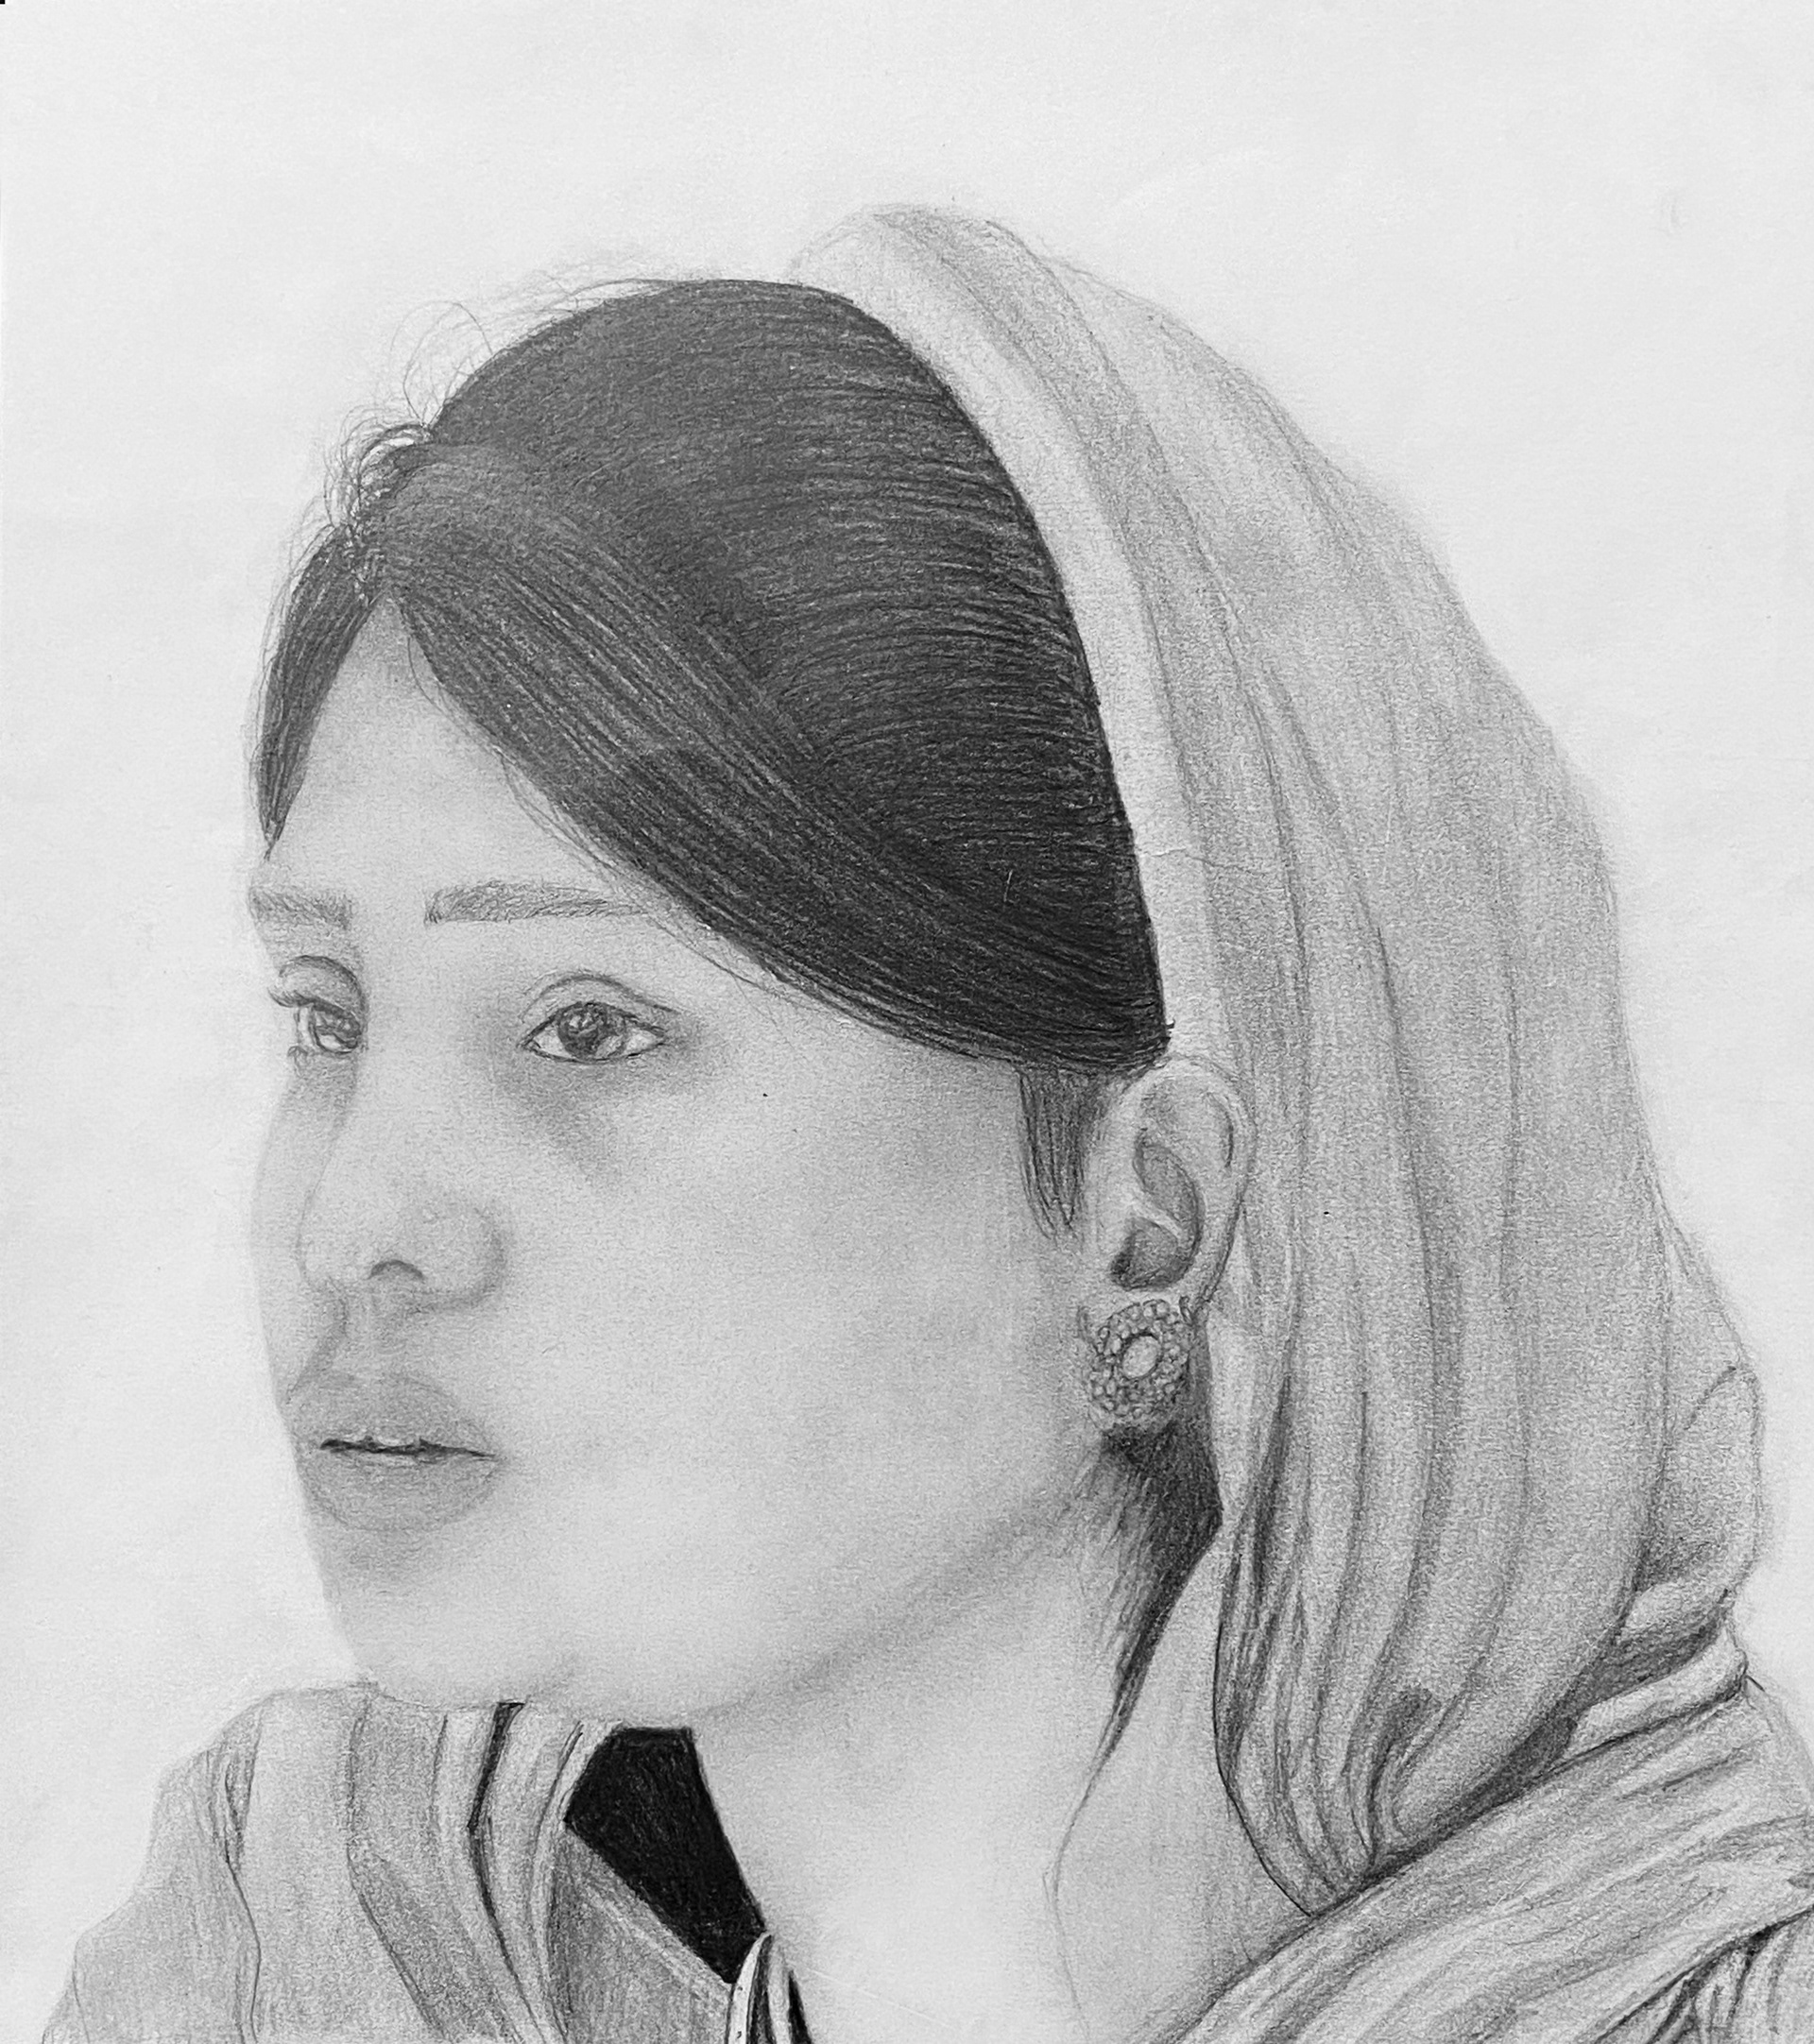
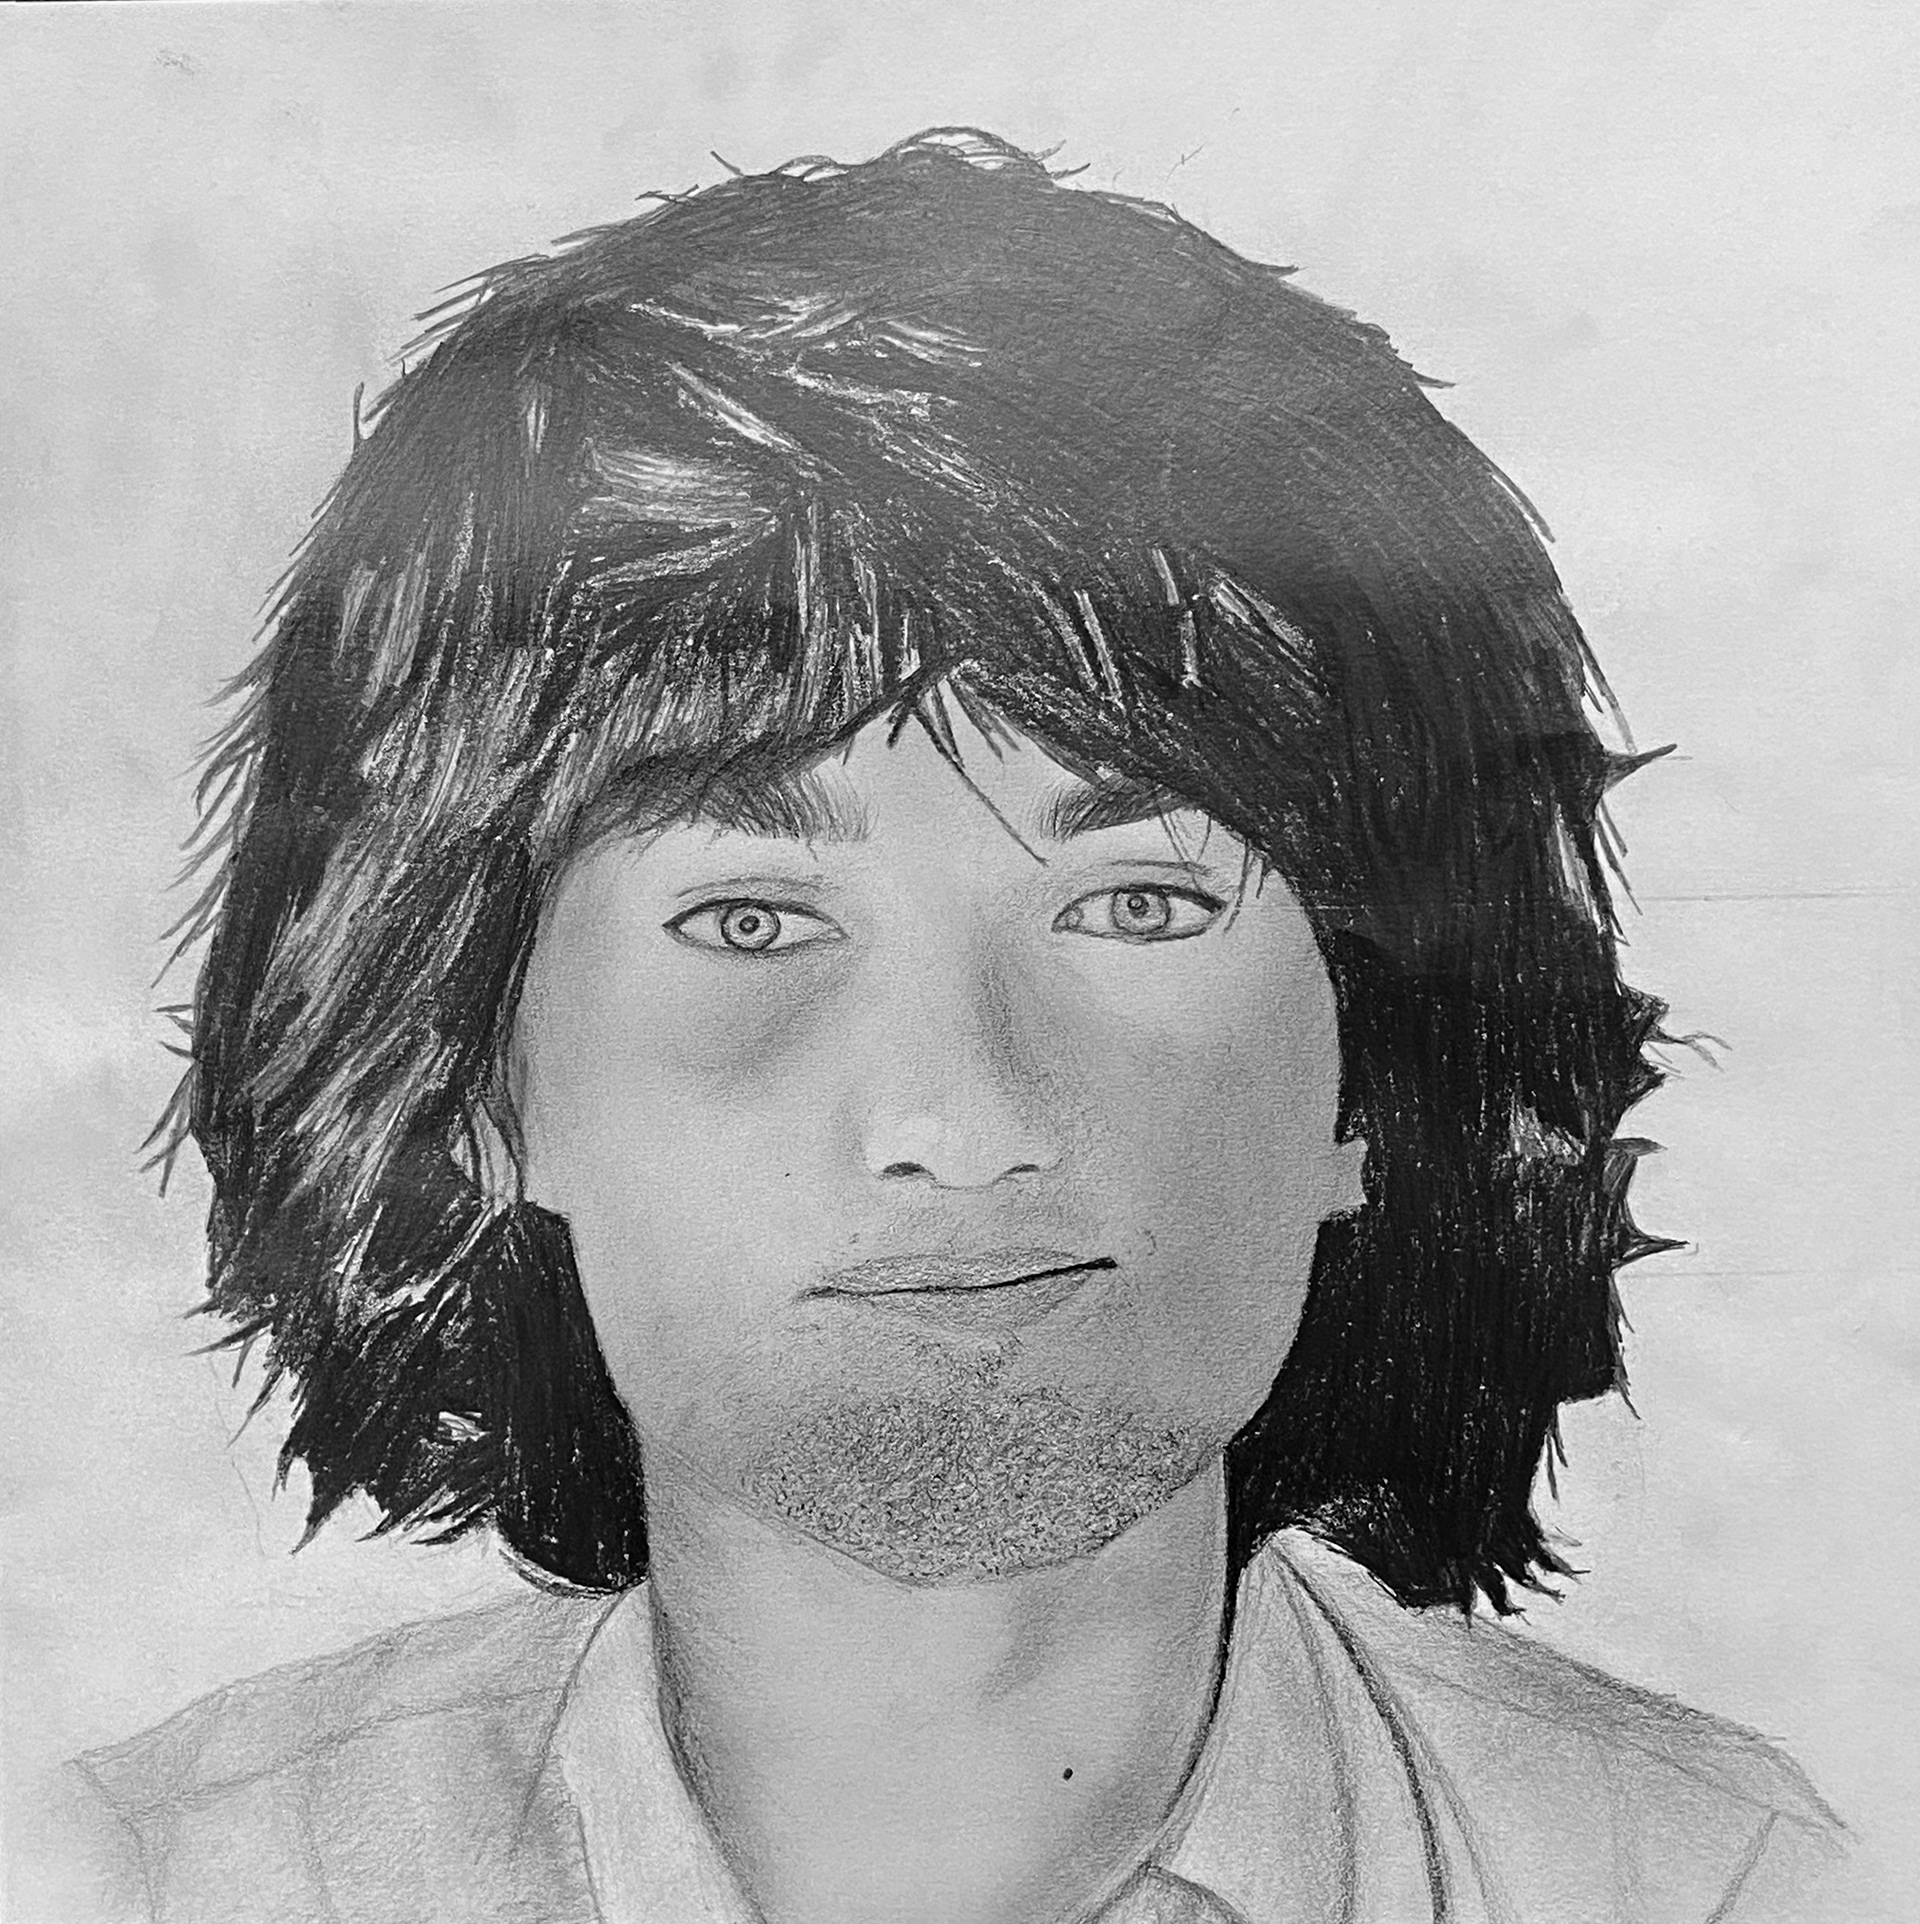
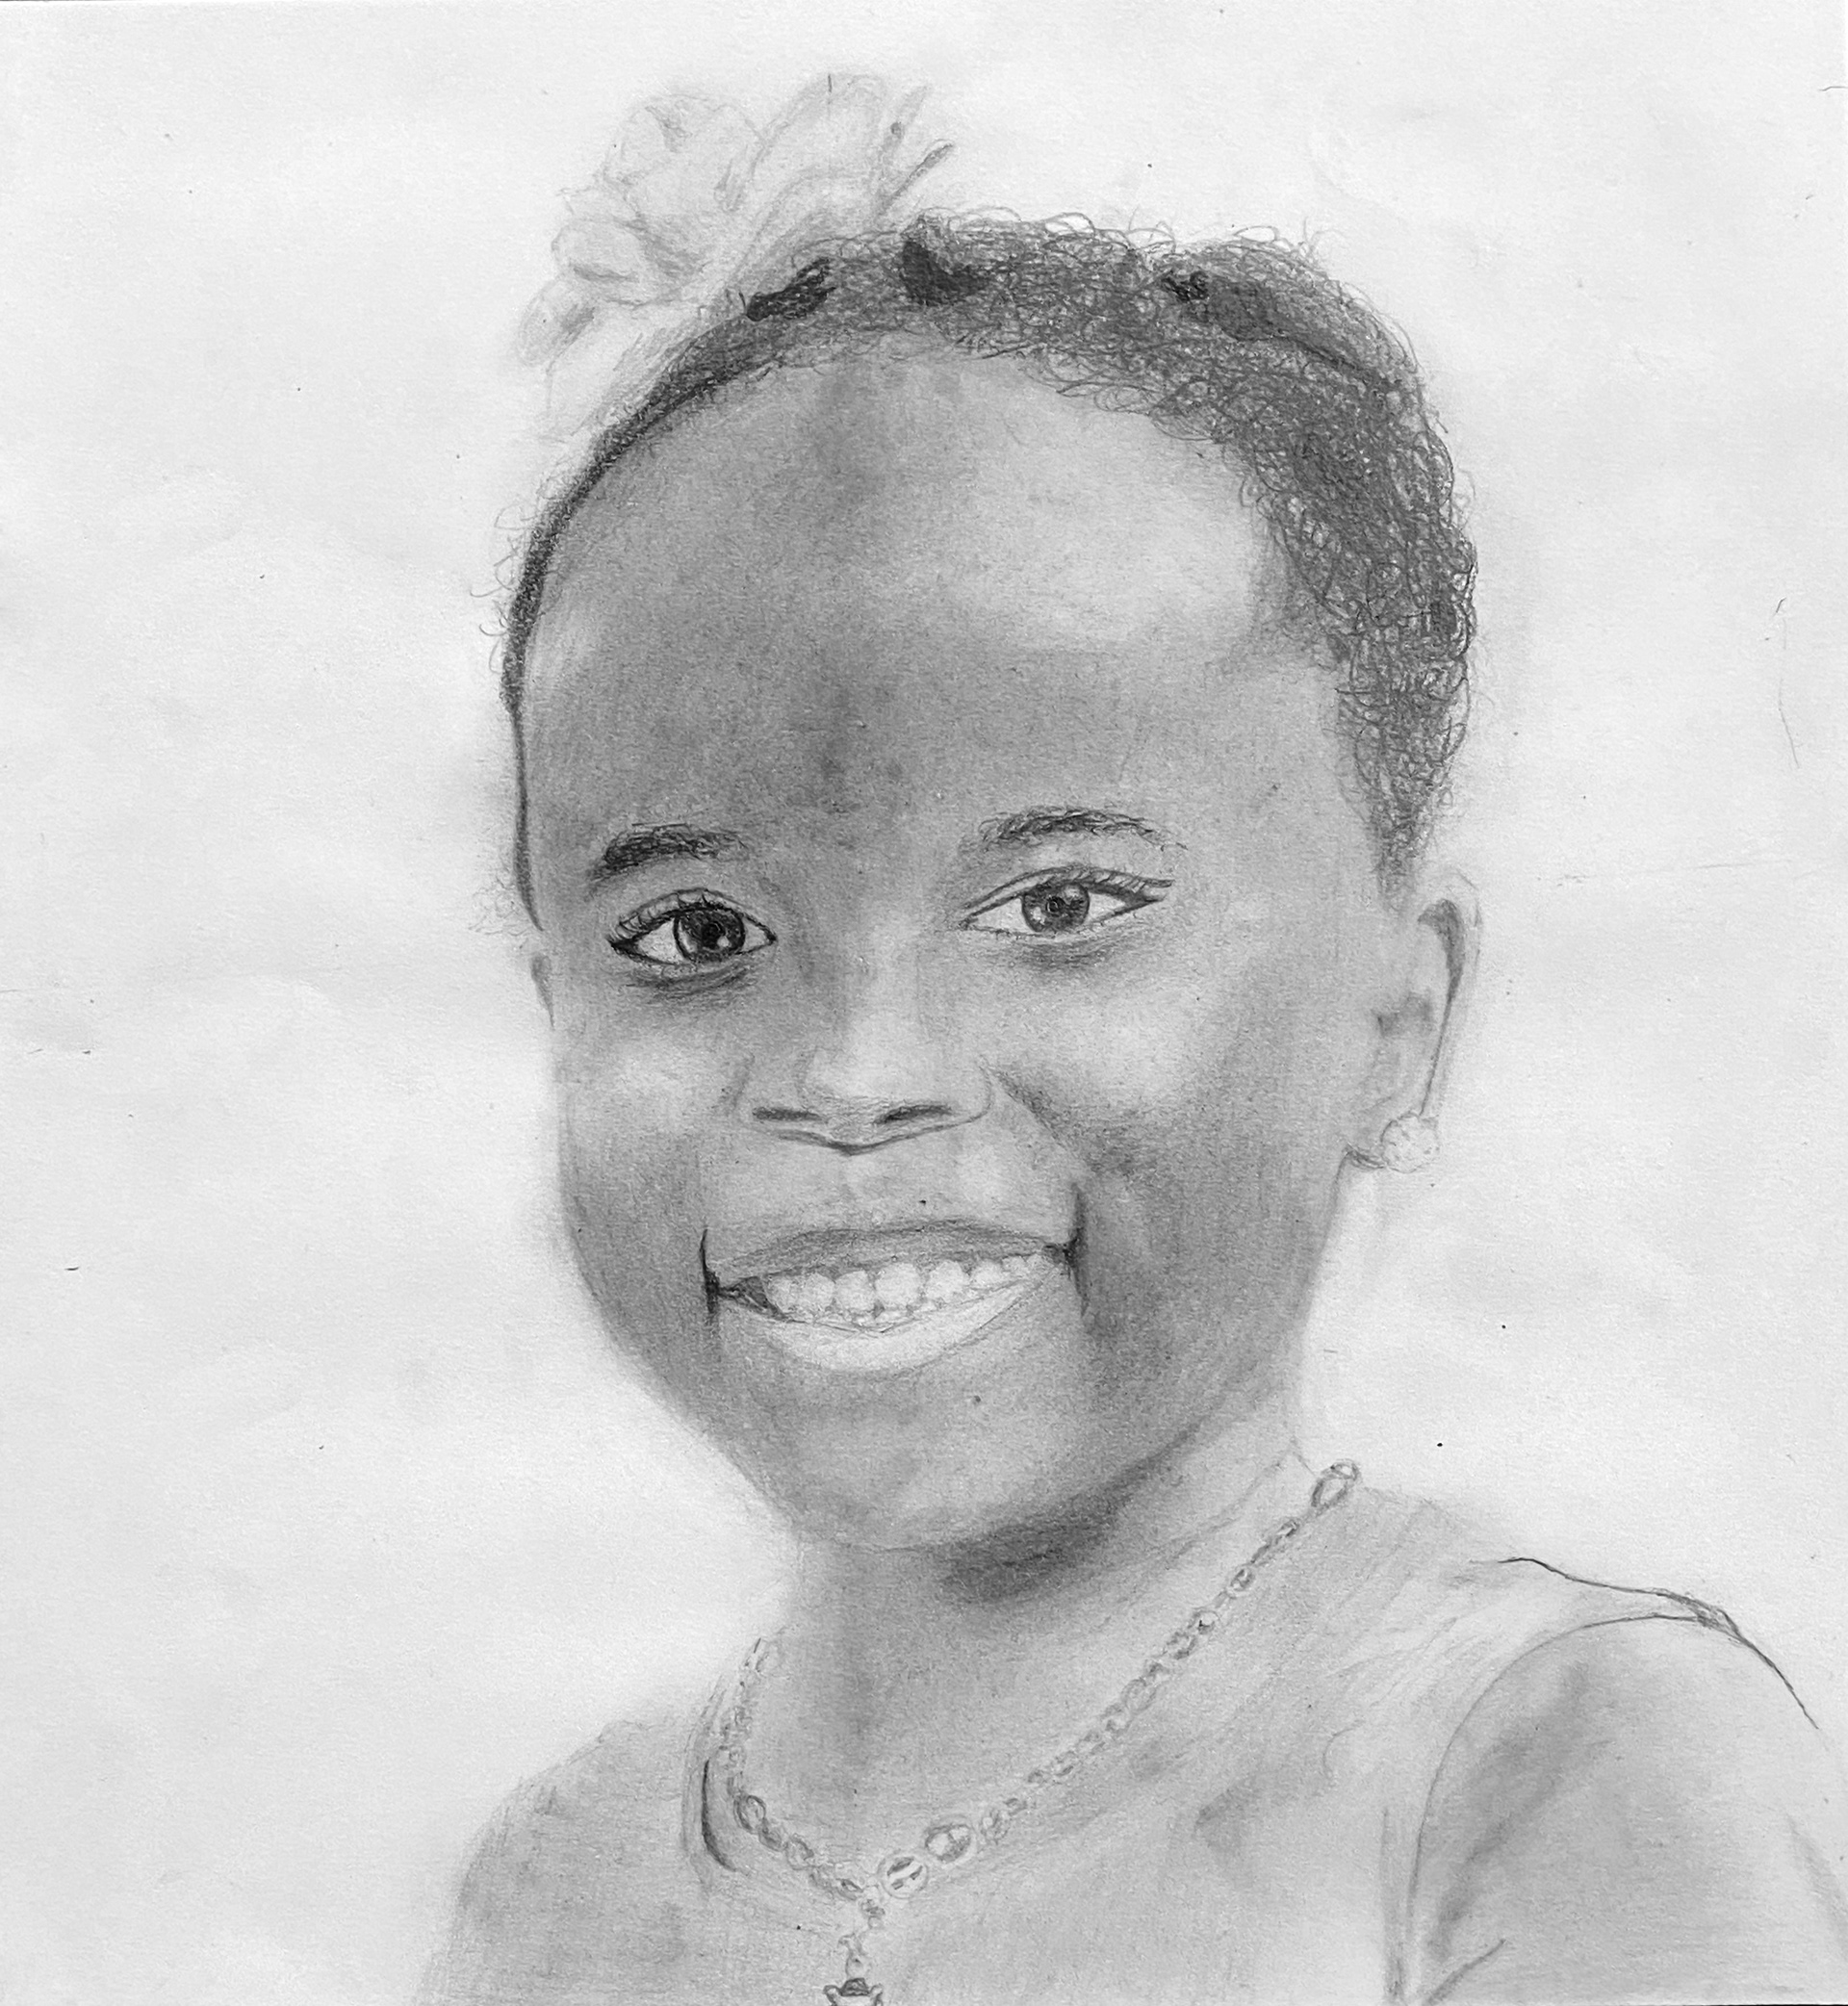
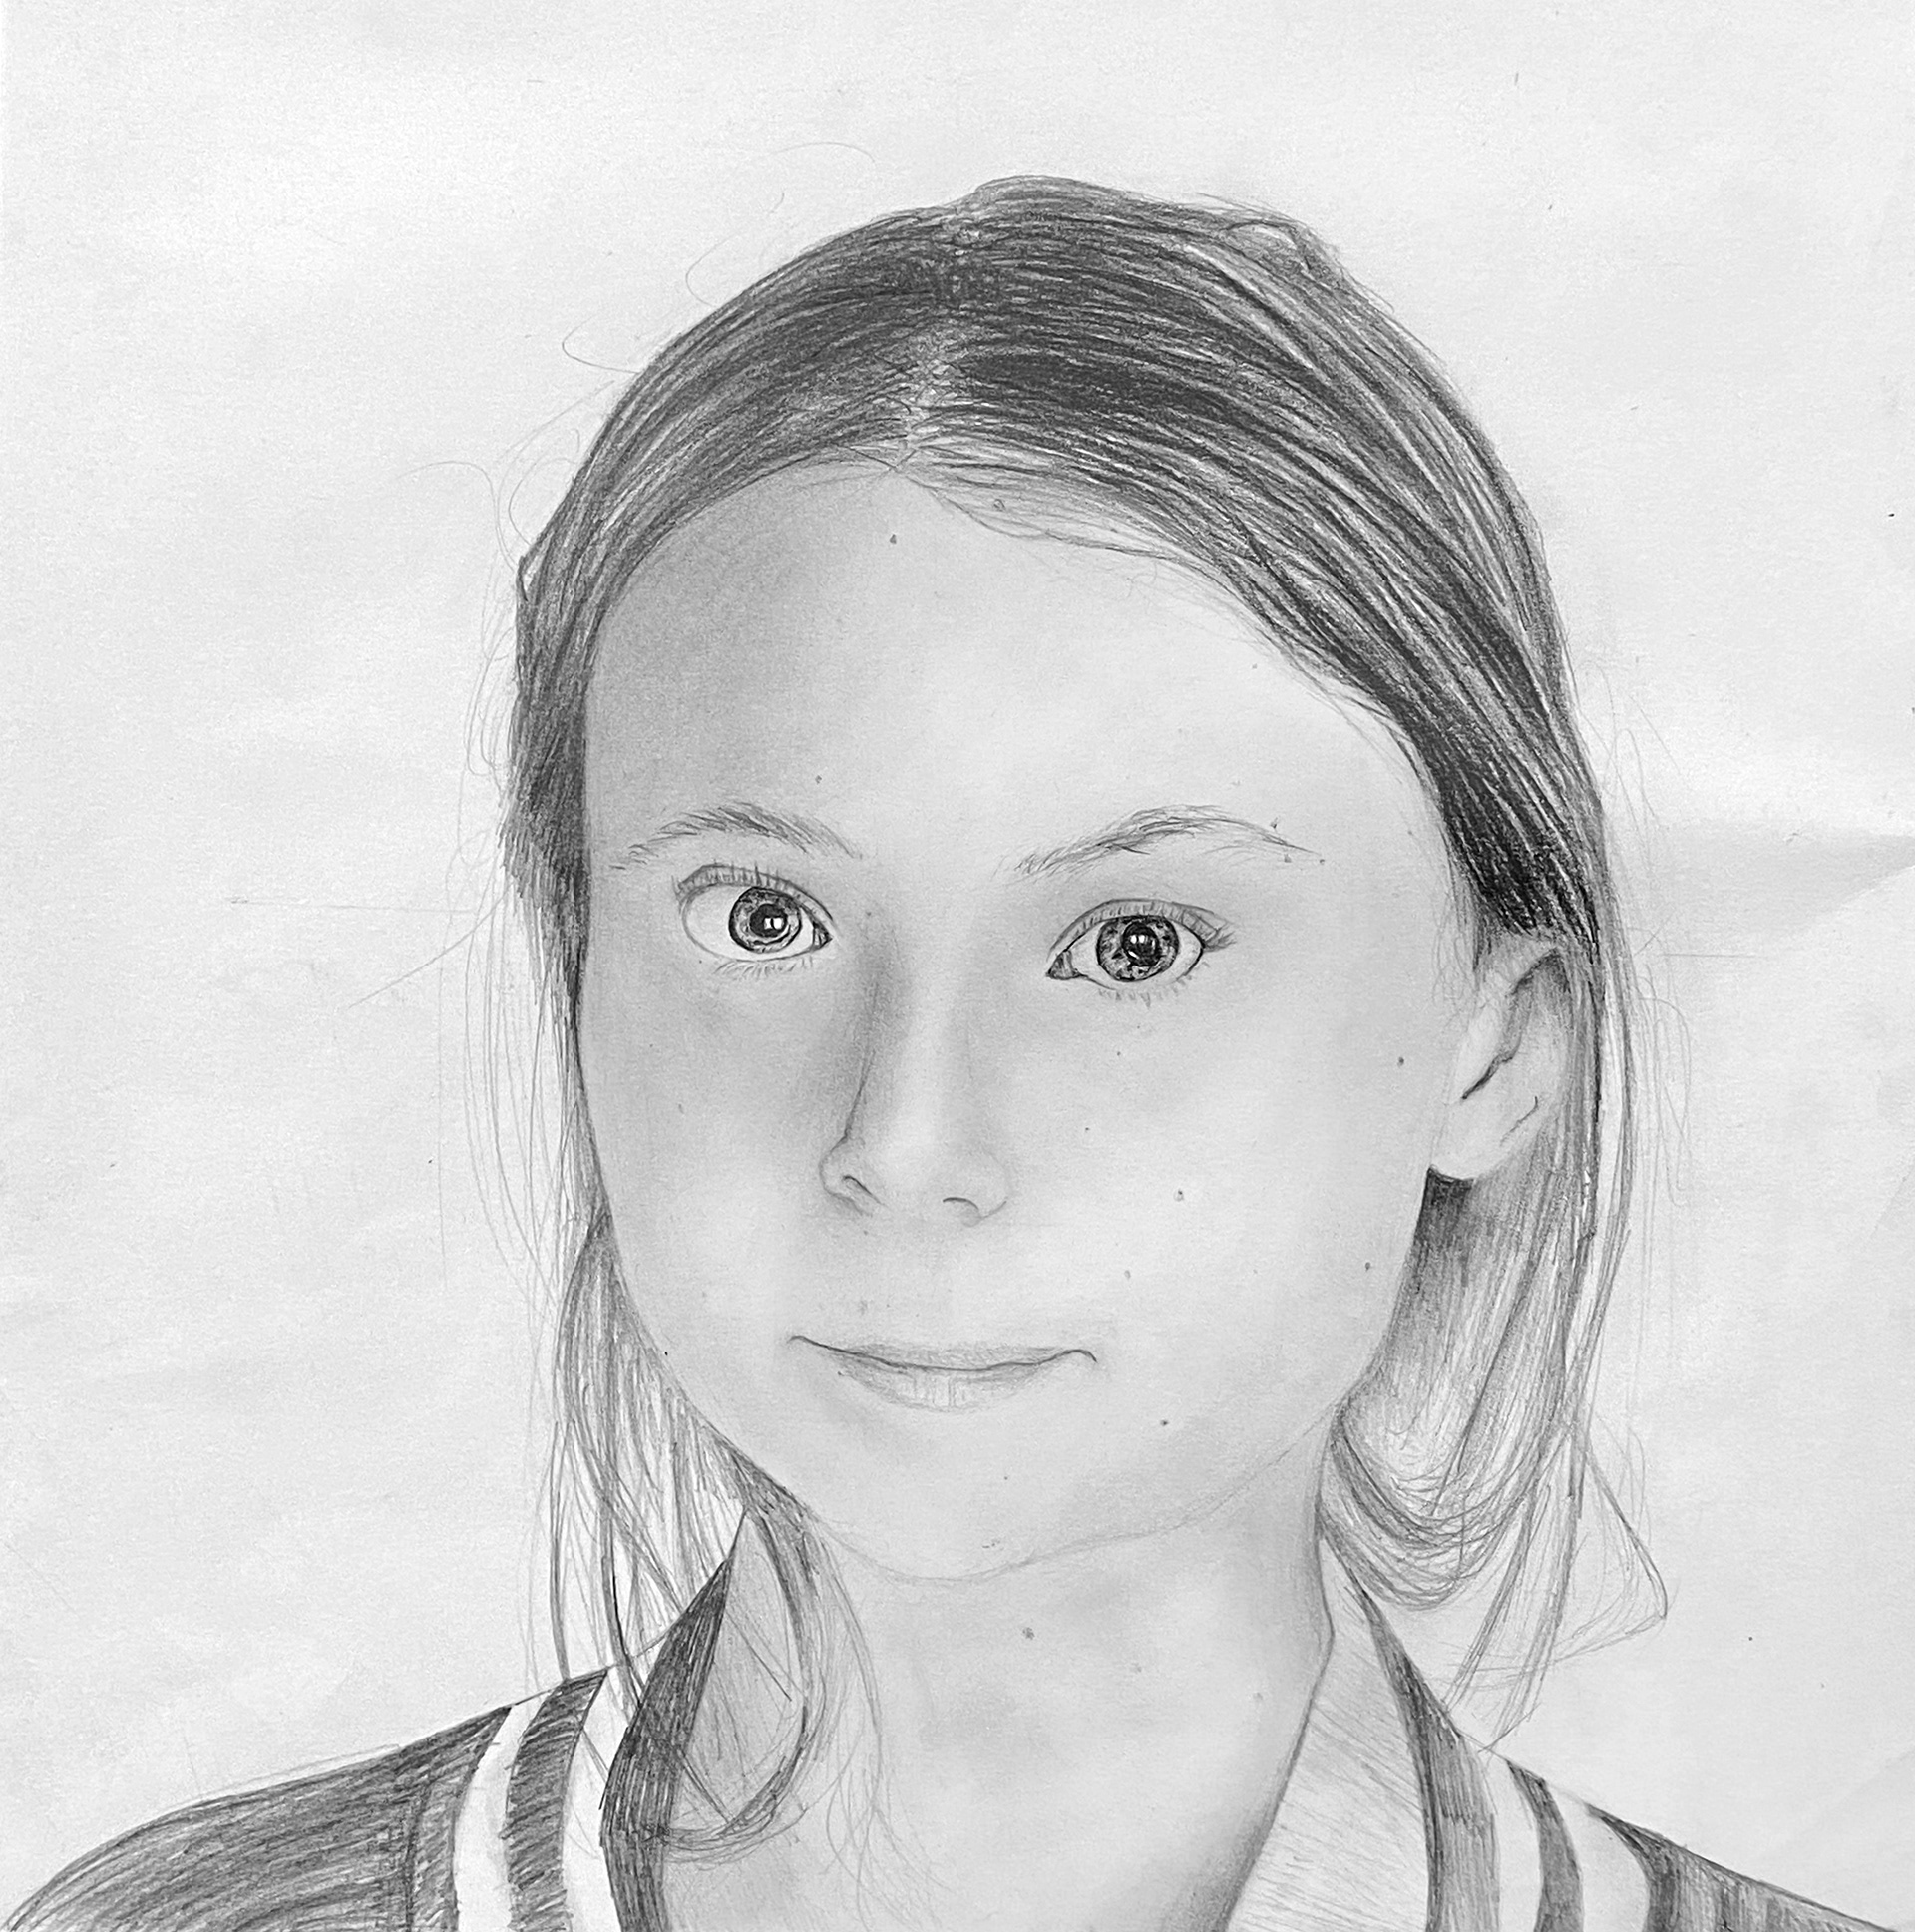
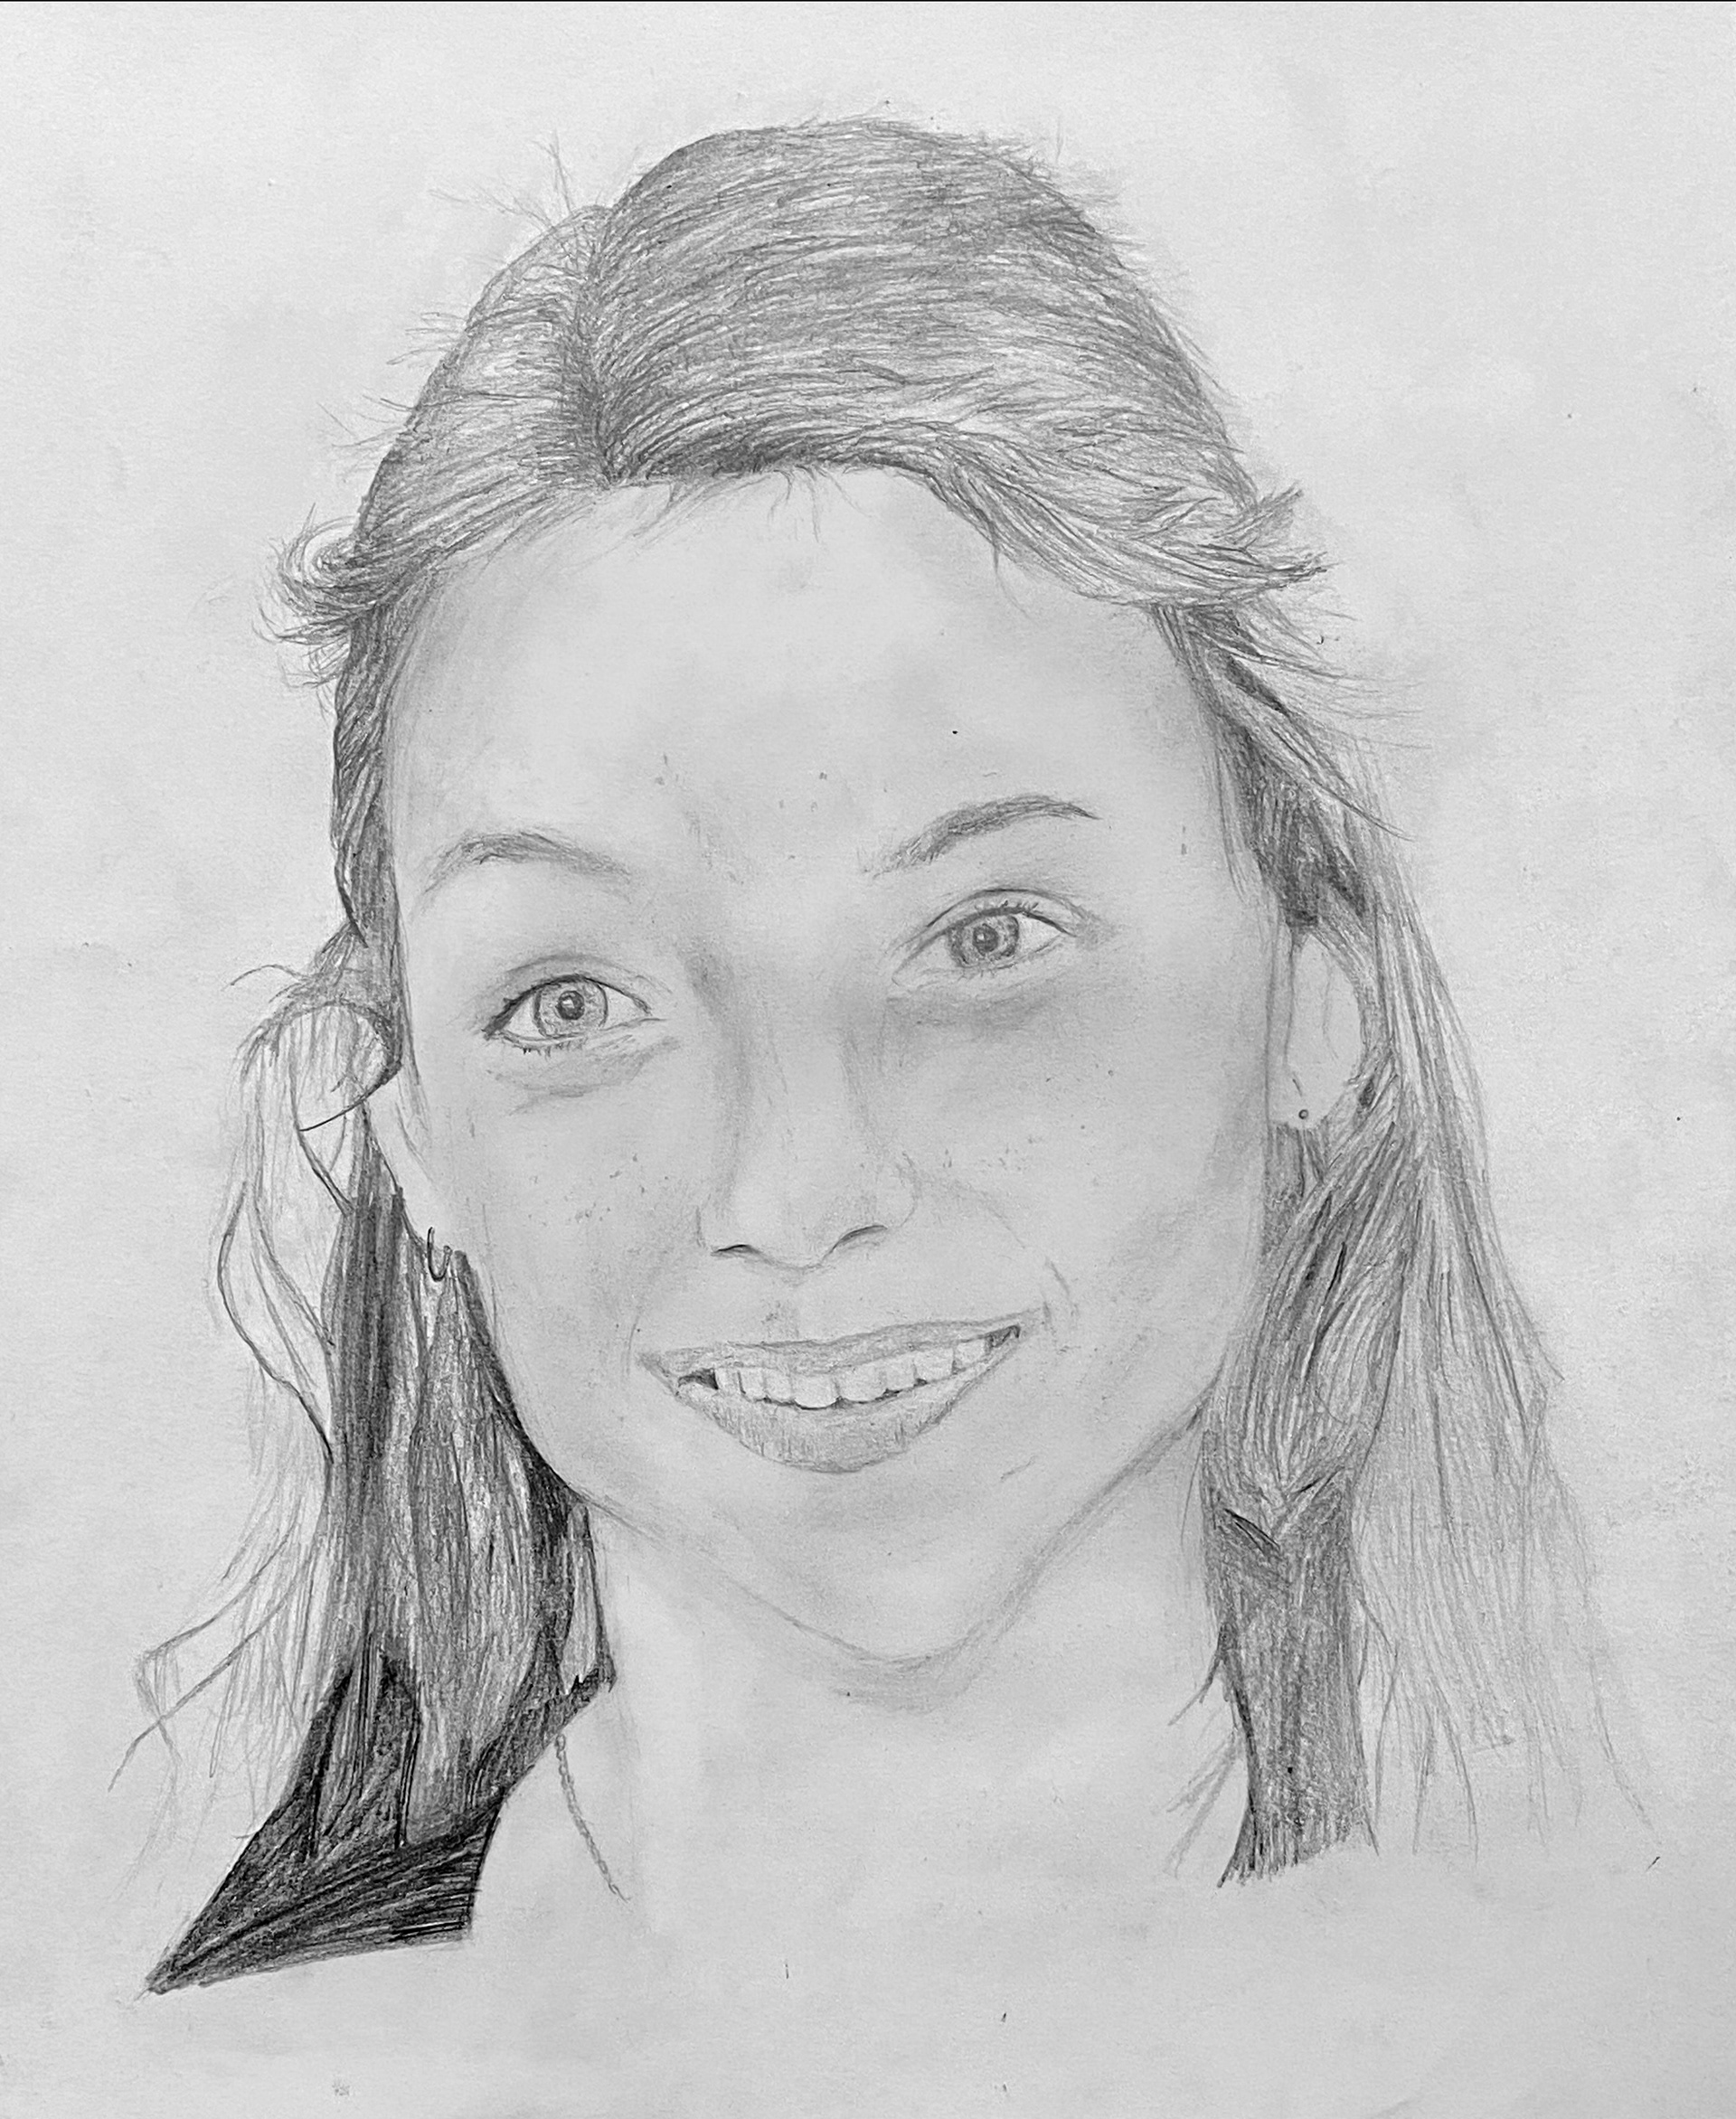
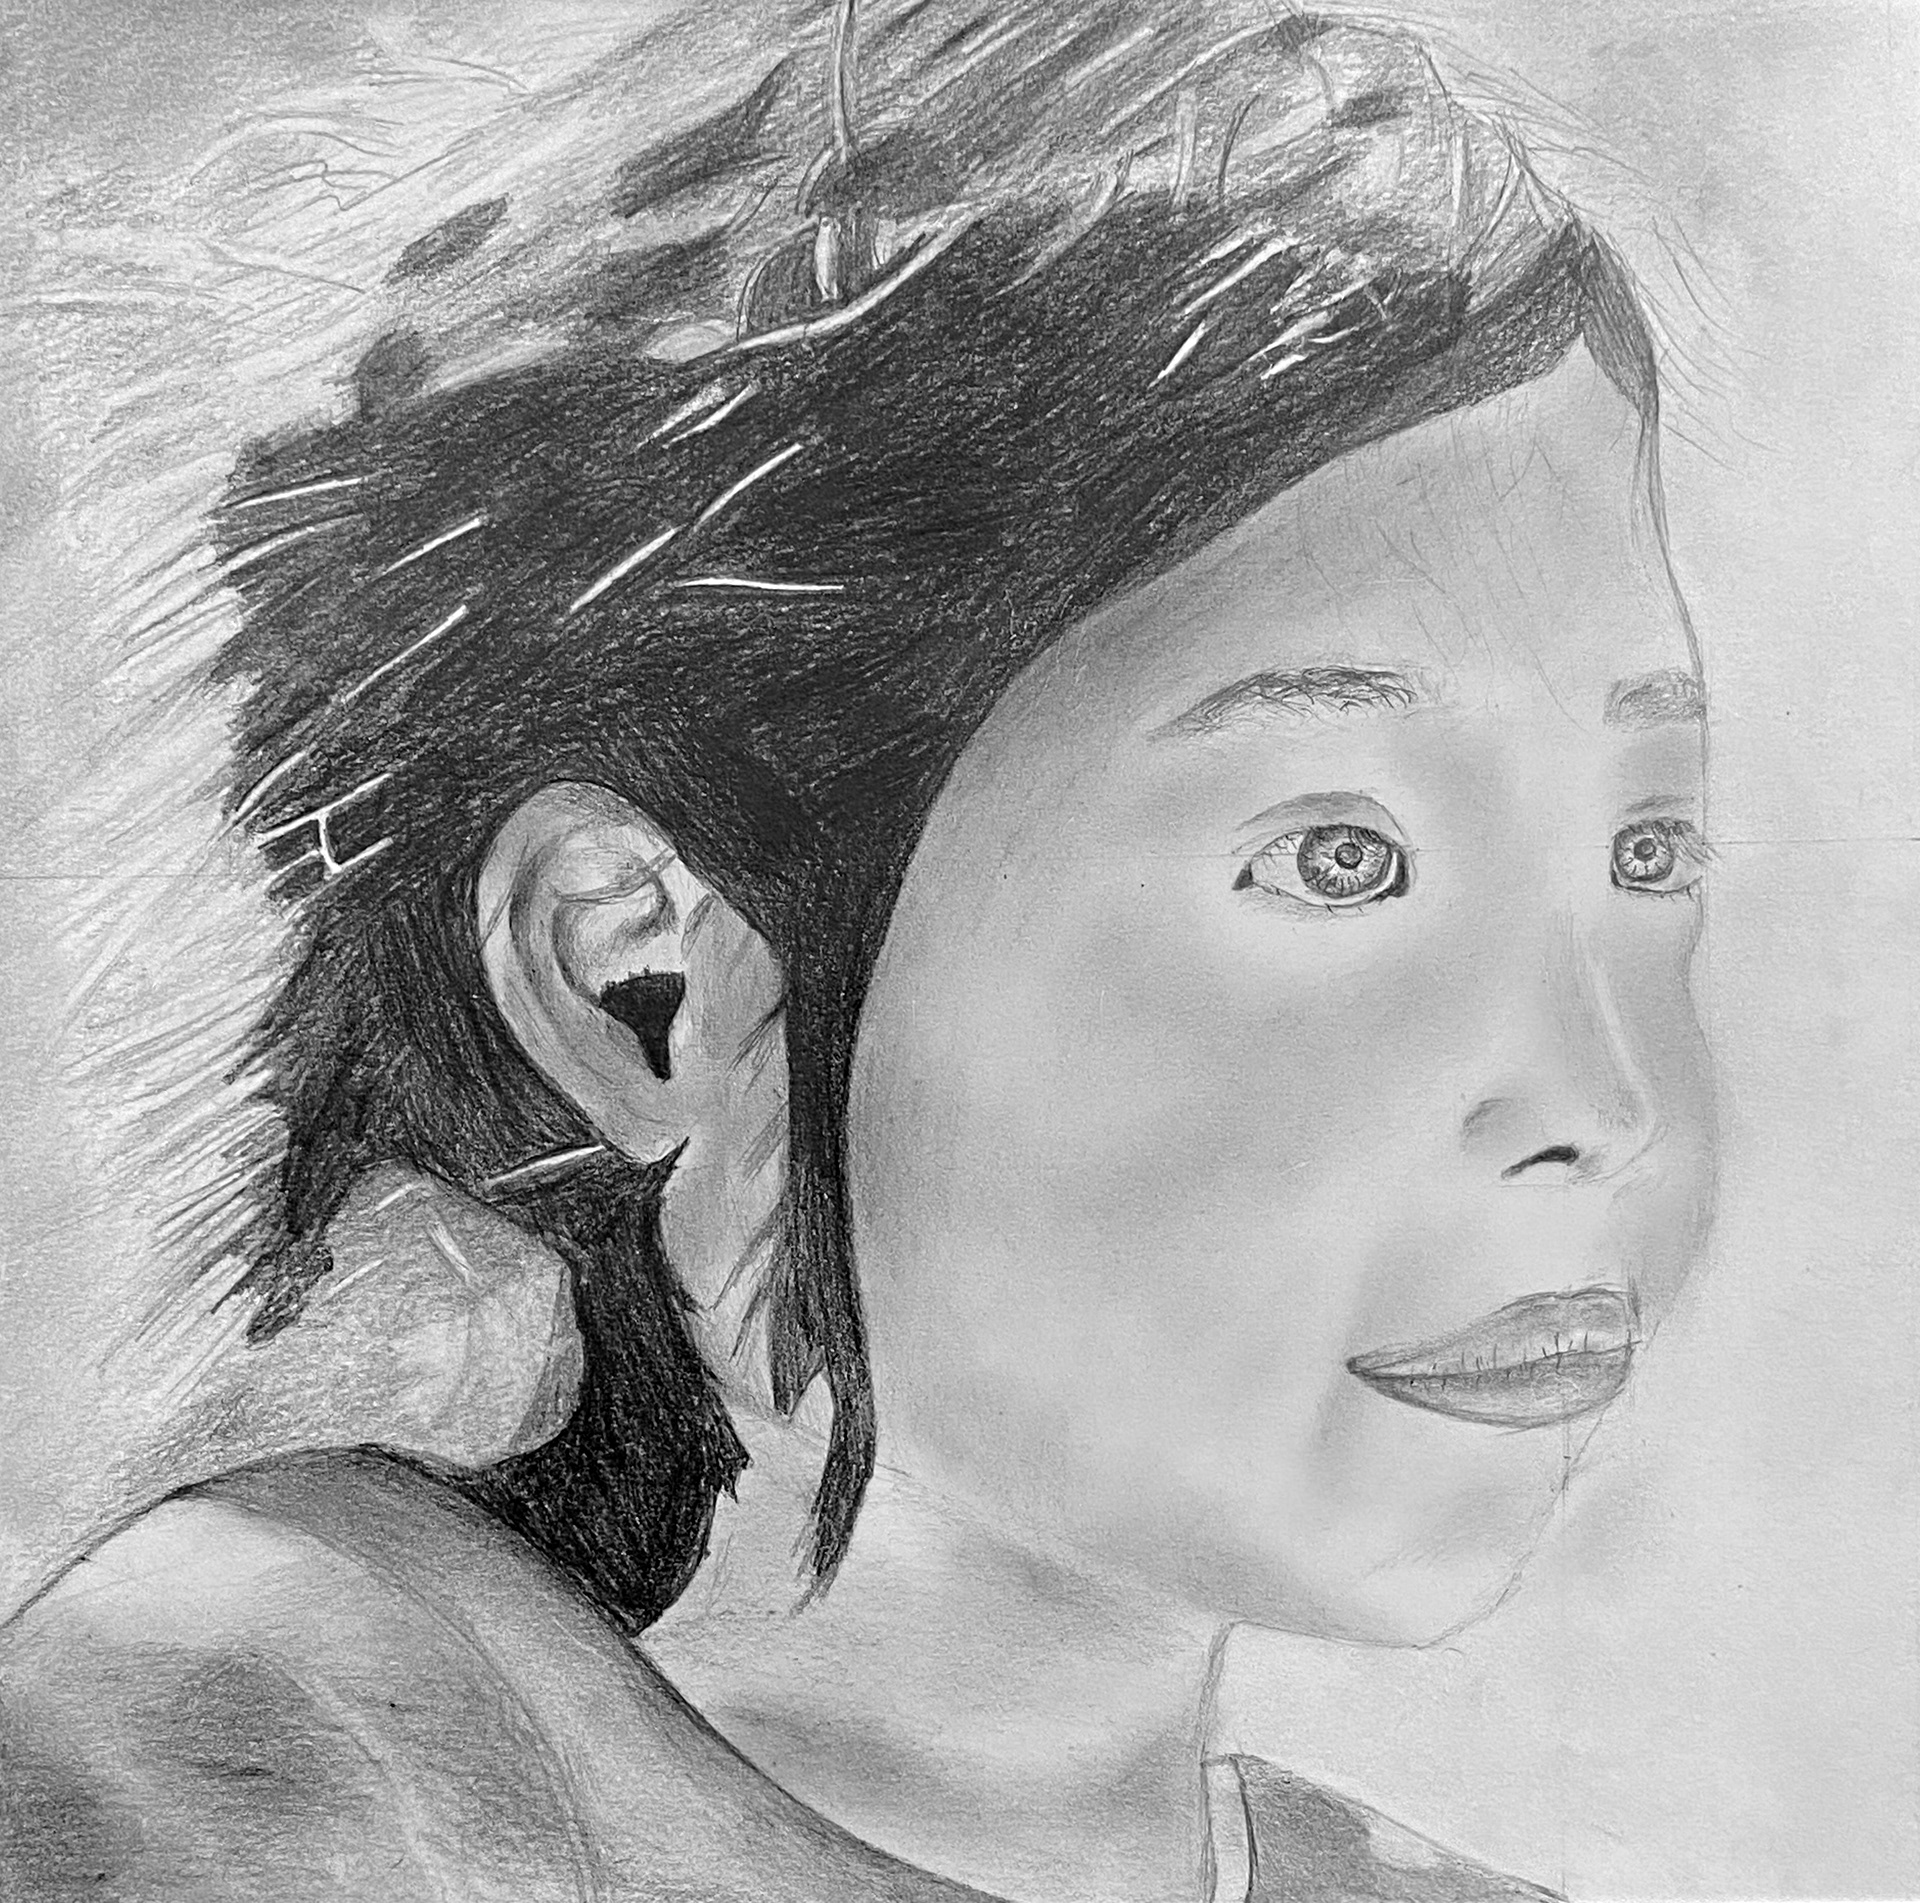
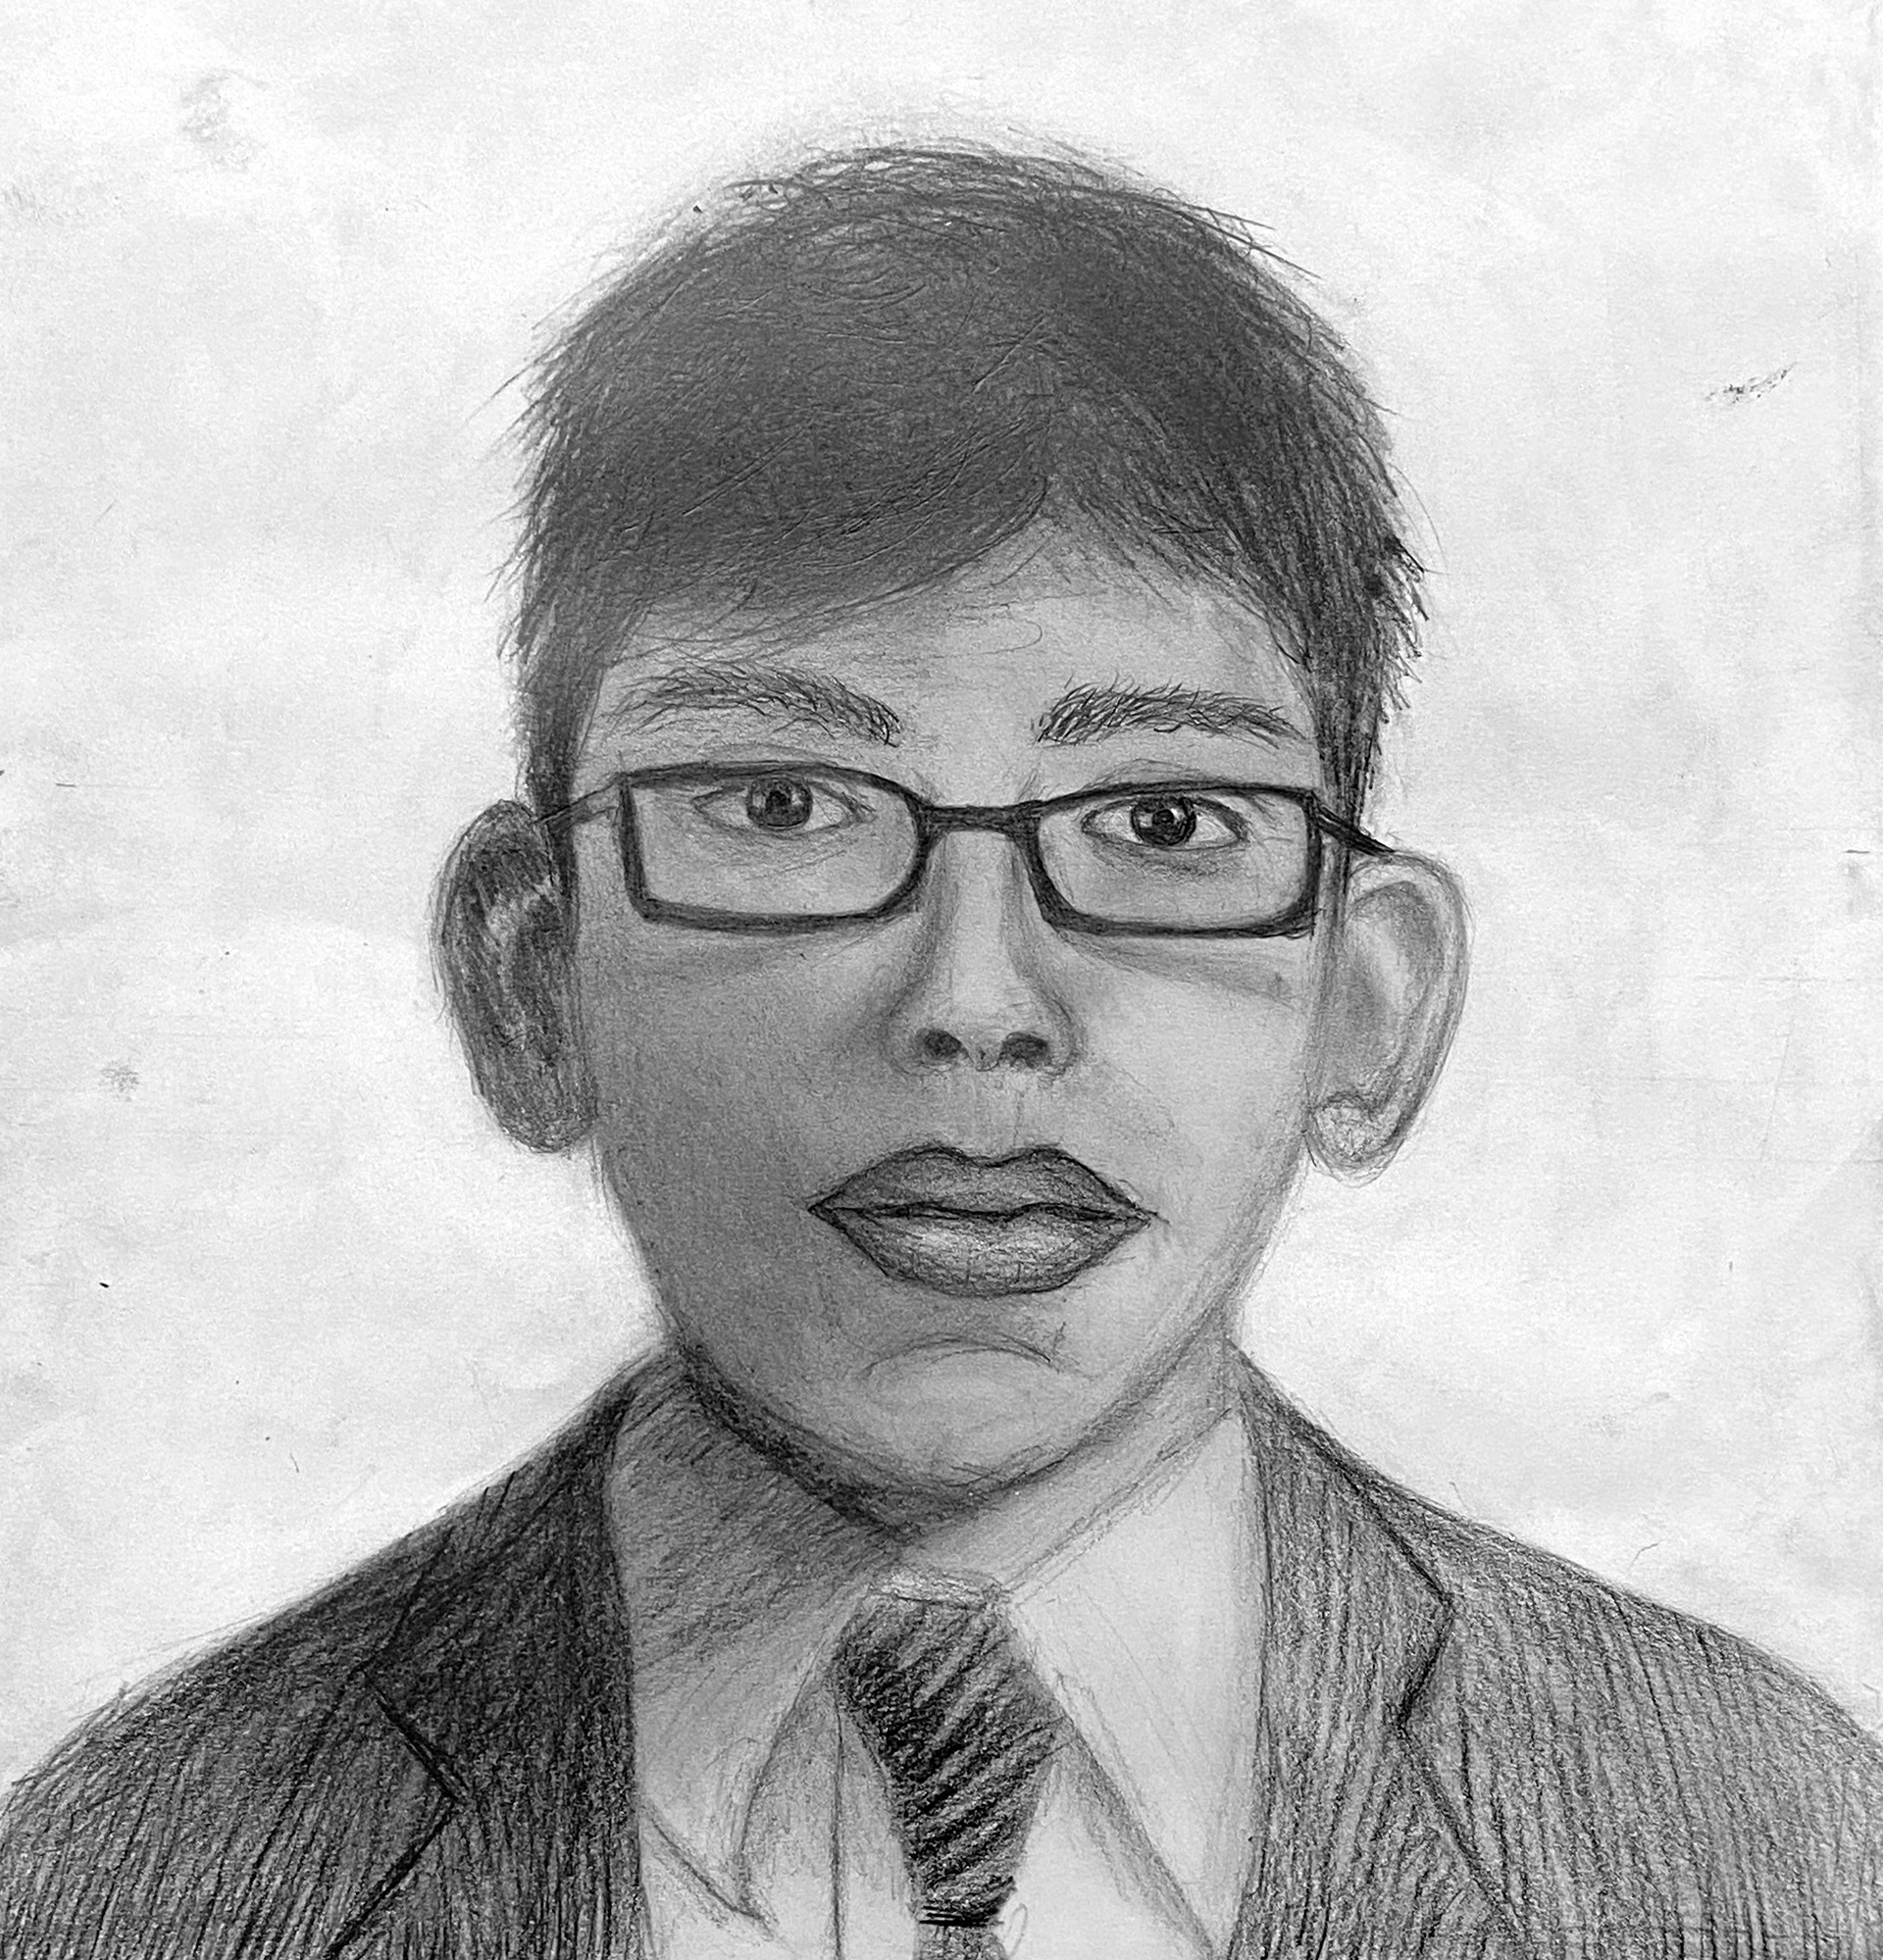
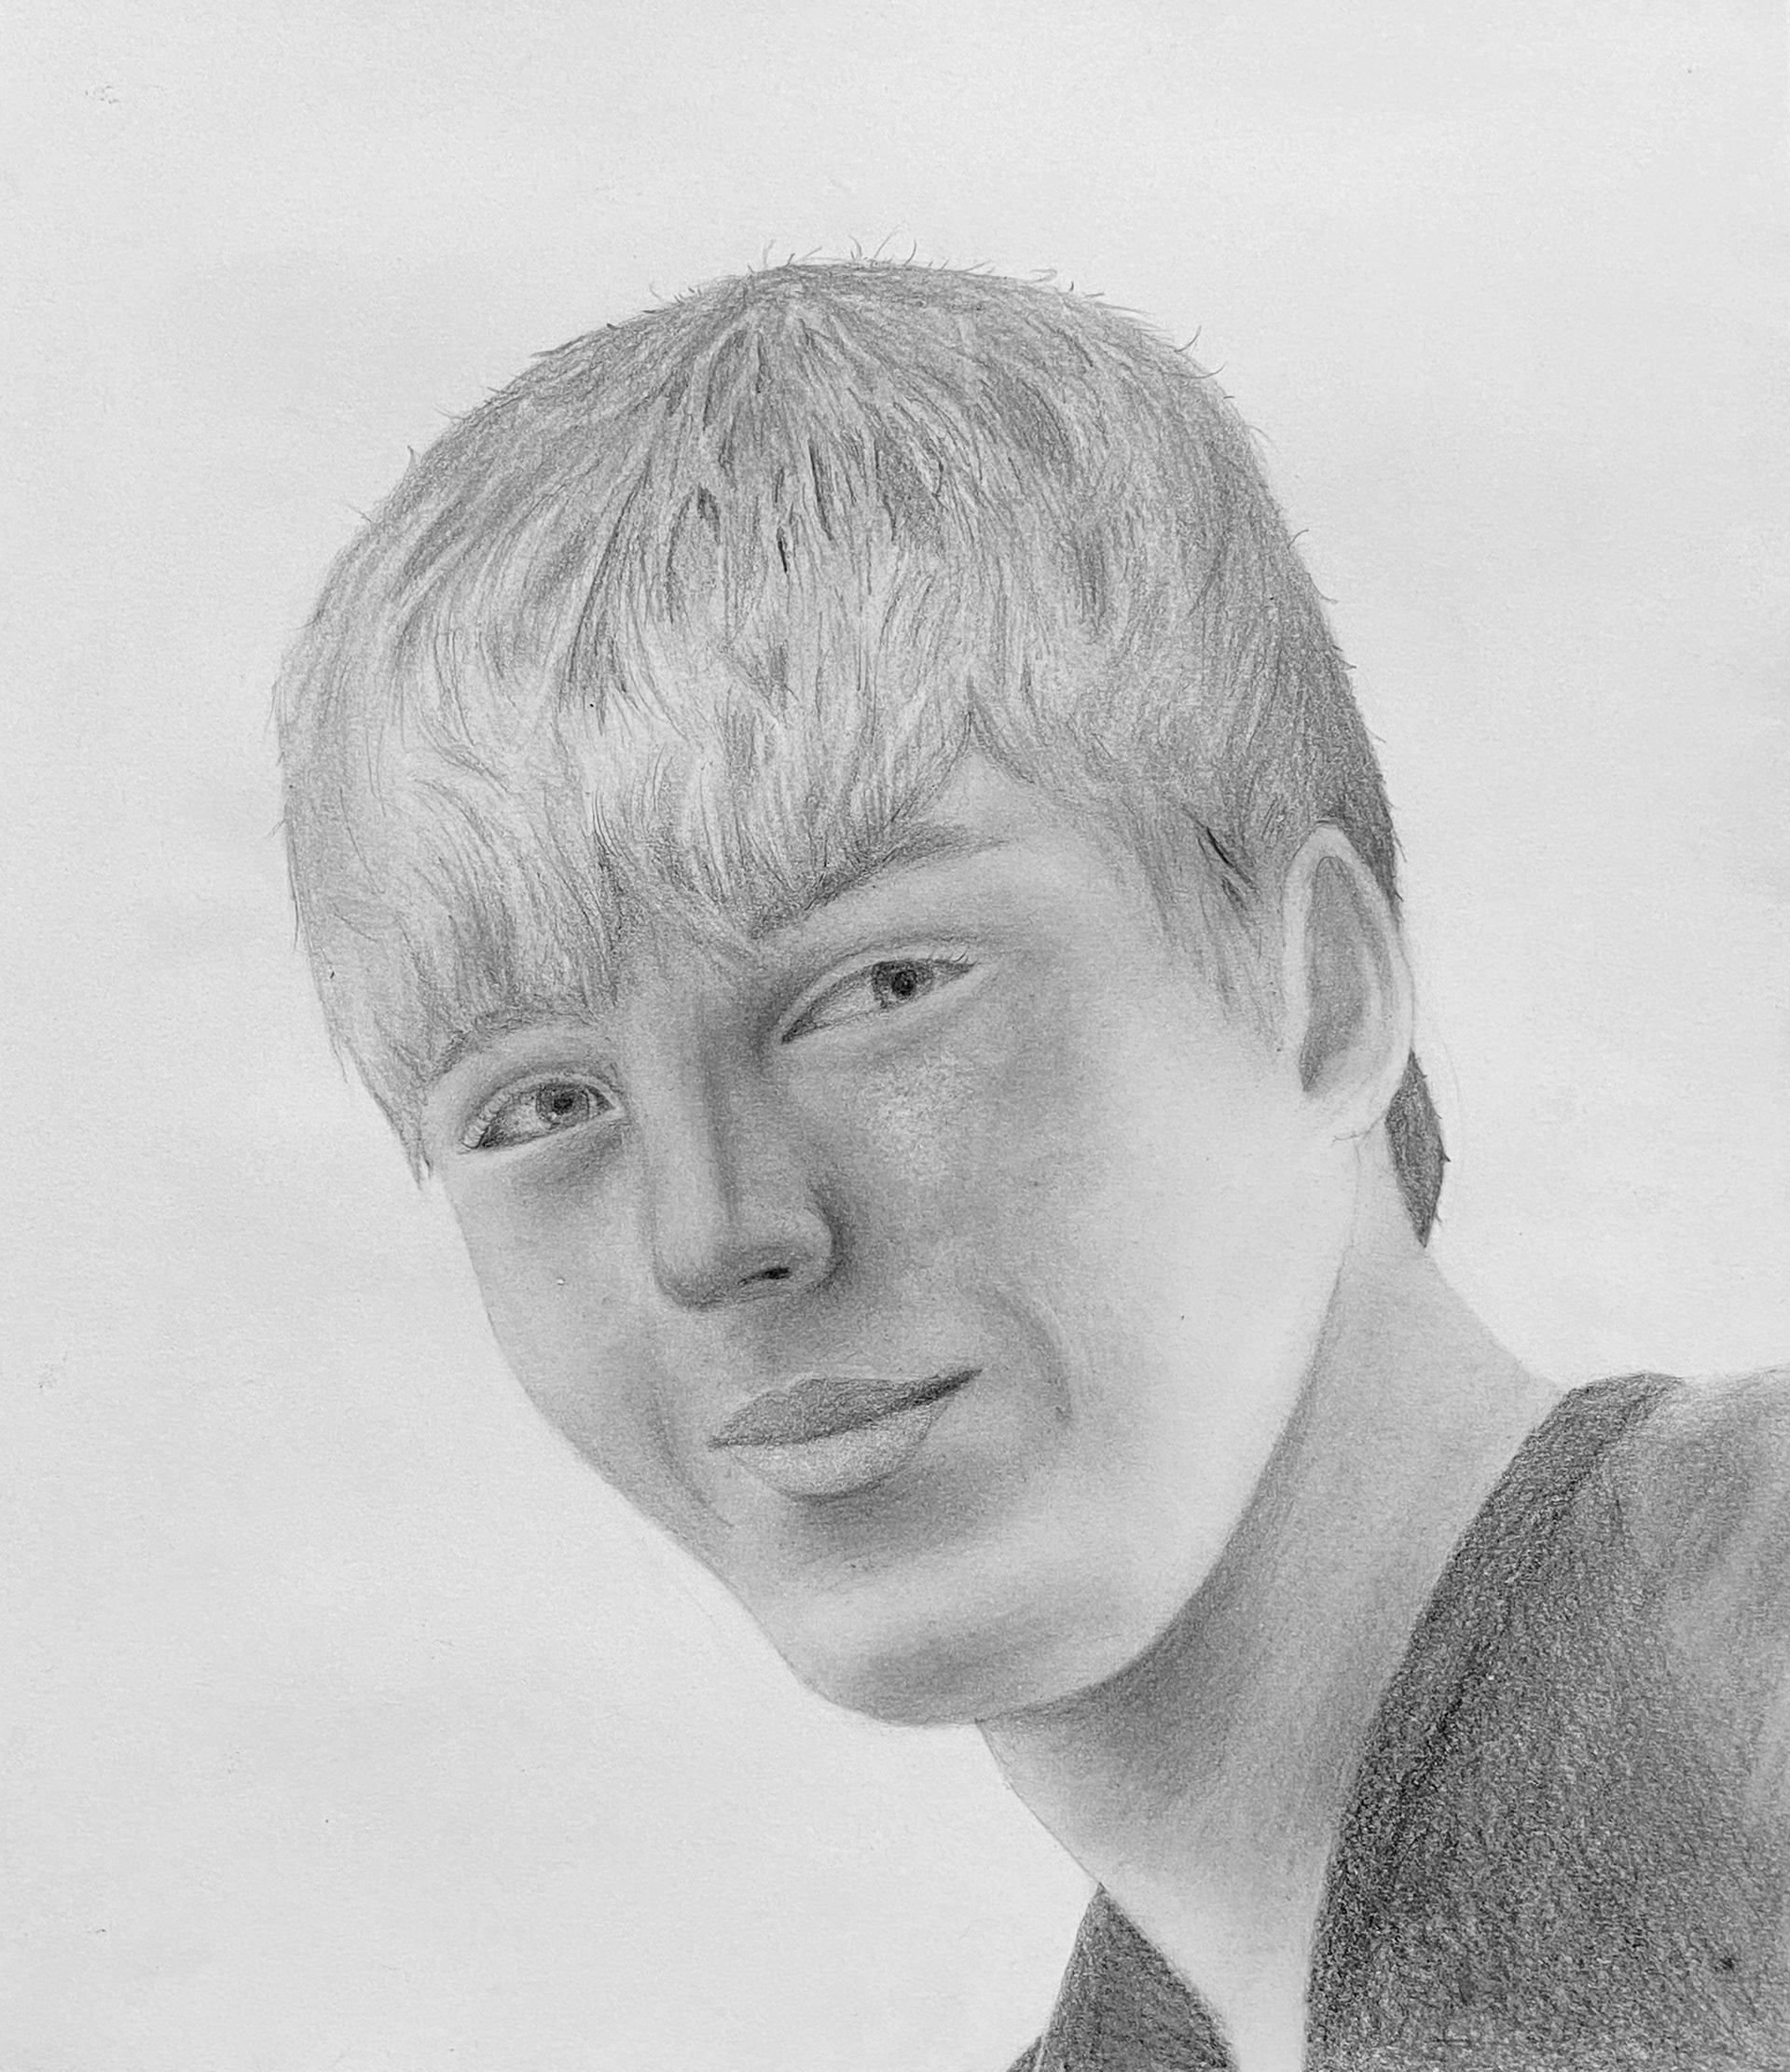
Examples of previous students' drawings:
What have each of these students done well in their drawings and what might they have improved on?
'Children who have changed the world' (2021):

'Refugee Portraits' (2022):